


Description
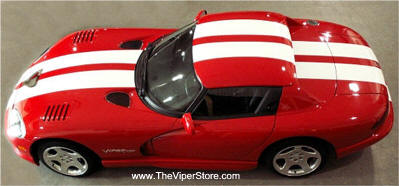
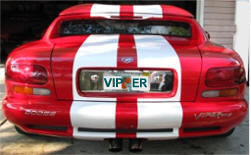
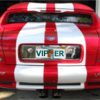
11″ Racing Stripes!
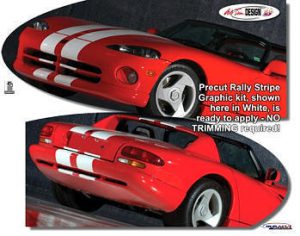
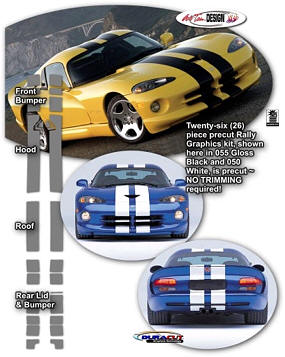
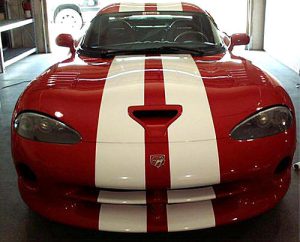
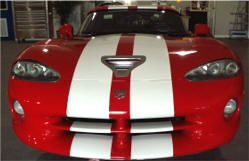
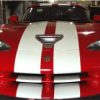
Highest quality vinyl Double Stripe Kit. Includes seven (7-10) year outdoor quality double white vinyl stripes that go from end to end. Self-adhesive gloss white vinyl. Looks painted when done! Includes pieces for the hard top as shown.
Professional installation recommended only. Choose from three colors: white, silver, and black. 11″ wide per stripe, 5″ between strips.
The graphic kit is PRECUT and ready to install in a wide variety of colors — slight final trimming may be required by professional installers.
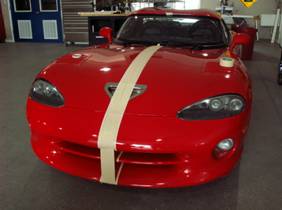
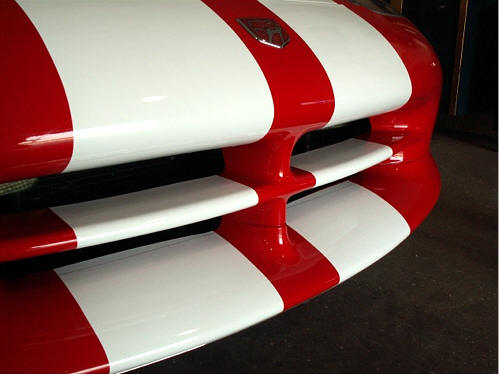
Note 1: This is for Vipers with NO hood scoop in the front hood.
Note 2: This kit does include material for an aftermarket hard top.
High-quality simulated carbon fiber vinyl or real air-release carbon fiber is available upon request. Ask for pricing.
INSTALLATION INSTRUCTIONS
Professional installation recommended. Have installation questions? Call (727) 861-1500.
Parts Included:
- 20 labeled vinyl sections
- 6 tubes of adhesive promoter
- 1 full-size hard squeegee
- 1 full-size soft squeegee
Read through all the directions before beginning. This graphic kit has been designed for the Viper II body and is to be installed by a Level 5 installation professional. It is constructed of high-performance cast vinyl that offers a ten-year exterior life. This vinyl will not crack, peel, fade, or delaminate if installed correctly using proper mounting solutions and procedures. Install inside a dust-free environment for best results.
- Thoroughly clean areas to be mounted with soap and water to remove all road grime and dirt. Clean with an adequate wax and silicone remover. Apply the adhesive promoter only to specified edges and seams to accelerate the bond and lock in the vinyl at edges. Do not apply the promoter to broad areas of the graphic.
- Mark the center locations of the hood, roof, bumper, and trunk lid. Apply ½” masking tape along contours for reference.
- Create center spacing between the two graphic stripes using masking tape (5″ wide) along the center marks from front to back.
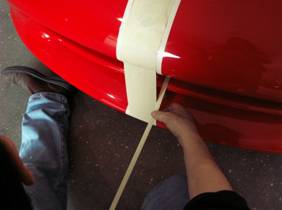
- Install each section carefully using a wet application solution (water with 2–3 drops of baby shampoo). Peel backing while spraying solution, squeegee from center out, and perform “pro-bond” with adhesive promoter on edges.
- Roof sections: Saturate with solution, place graphic, peel backing, align with masking tape, squeegee, and perform “pro-bond”.
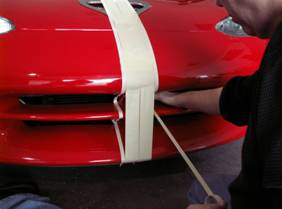
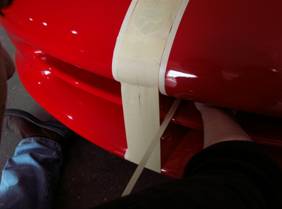
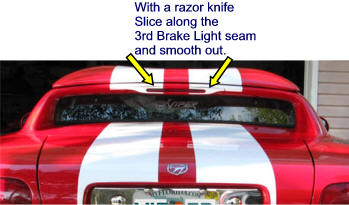
- Edges: Resaturate graphic, squeegee into body edge, allow to set. Trim excess vinyl carefully using a snap knife without damaging paint.
- Hood sections: Apply similarly, folding front and back ends over, using “pro-bond” on edges.
- Trunk lid and bumper sections: Precut to fit brake light and license plate areas. Apply using “pro-bond” on edges.
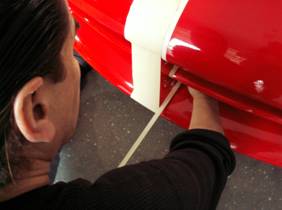
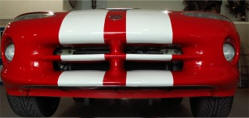
- Rear bumper: Align top and lower sections, perform “pro-bond” at joints. Ensure body contour alignment for seamless appearance.
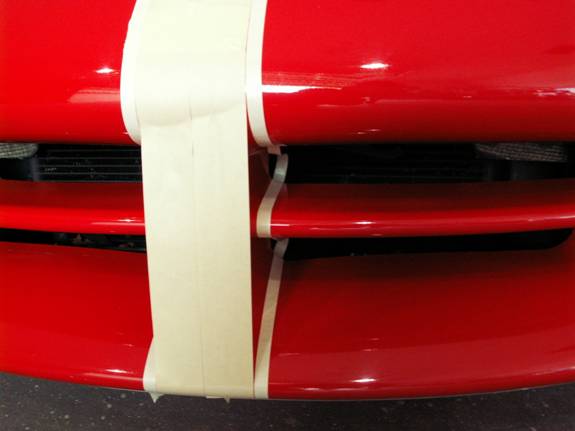
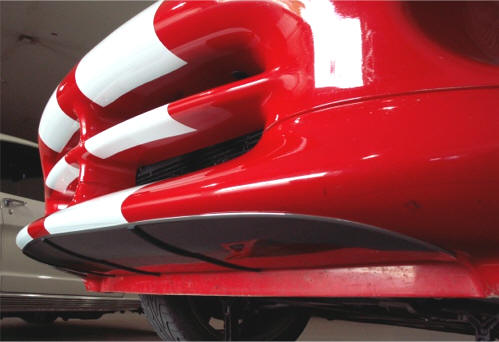
- Front bumper and nose: Stretch vinyl to conform to body shape, use a heat gun carefully to set edges. Work slowly and steadily for the best results.
Note: Use the heat gun cautiously as the vinyl is thin and can be easily damaged.
Very Important: Do not wash your vehicle for at least two days after installation. After this period, normal washing and waxing are allowed, but pressure washing is not recommended.