


Description
Beautiful! – Highest quality you can buy!
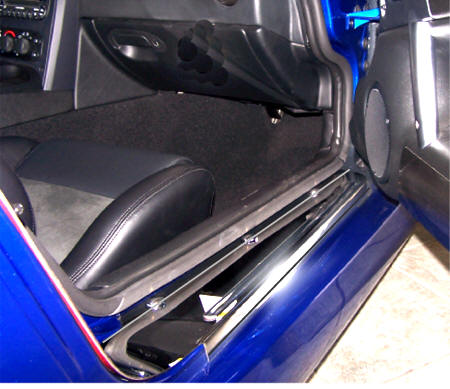
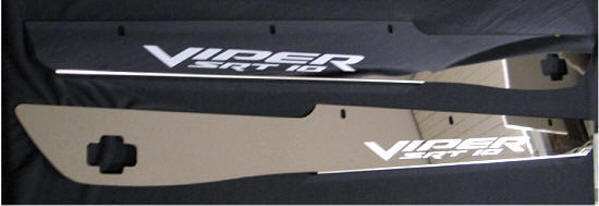
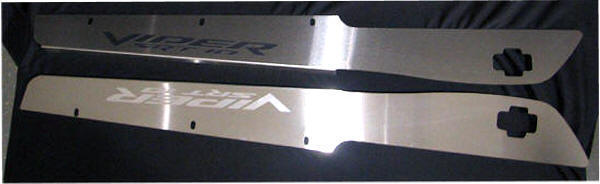
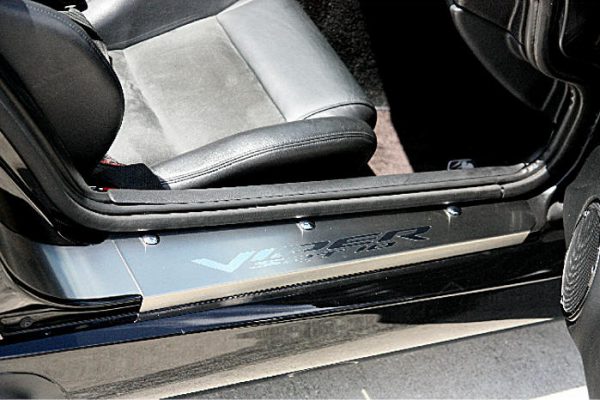
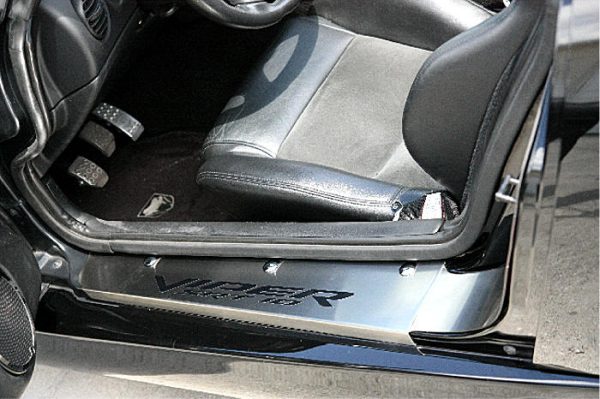
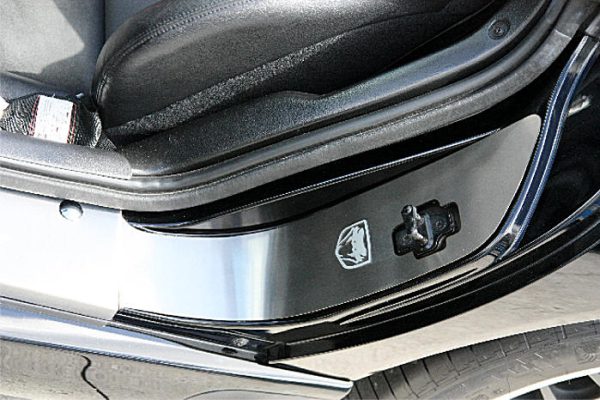
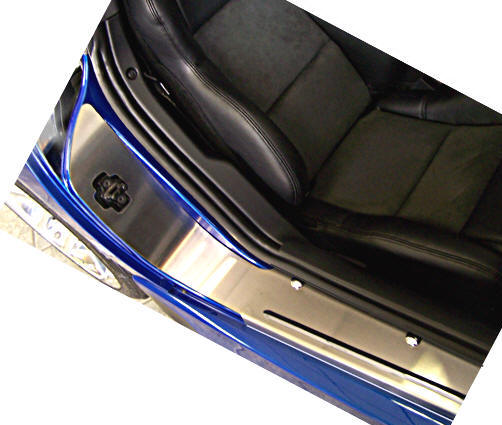
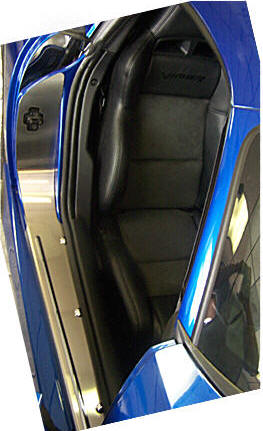
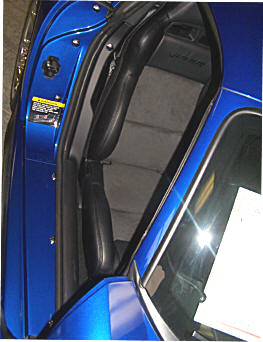
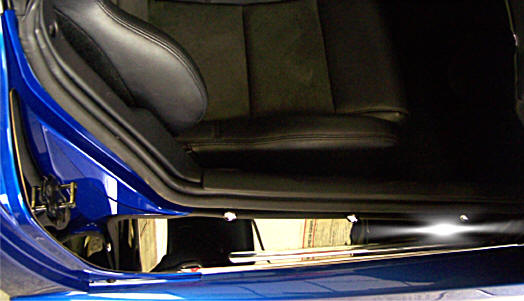
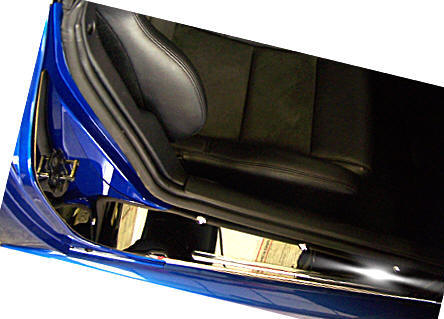
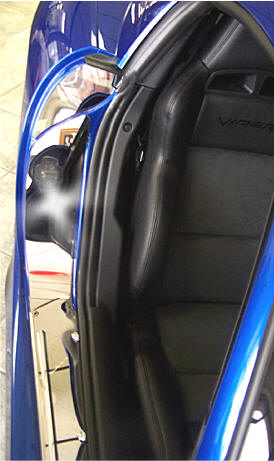
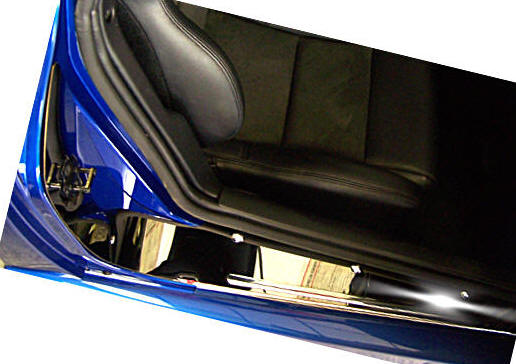
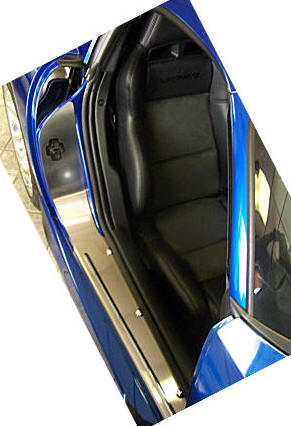
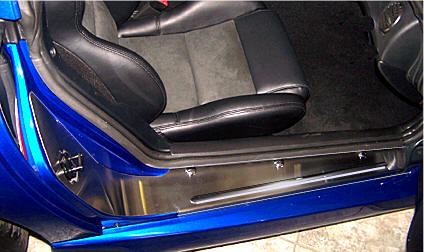
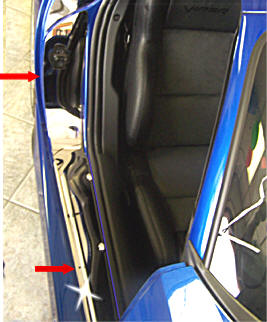
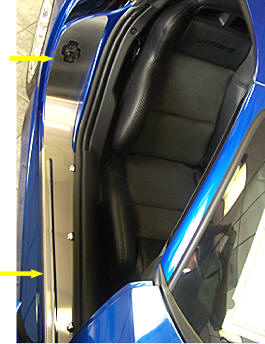
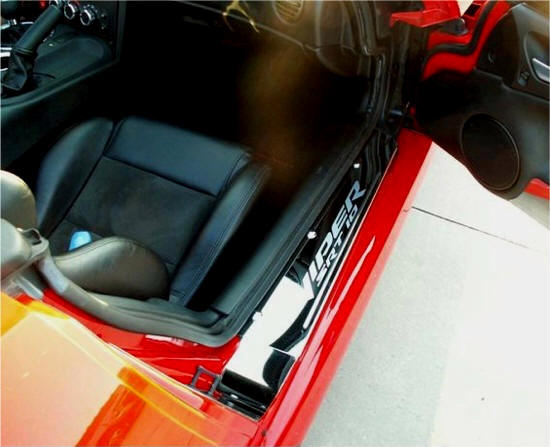
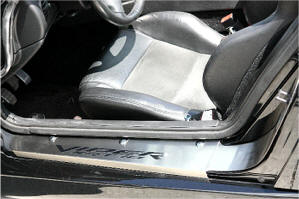
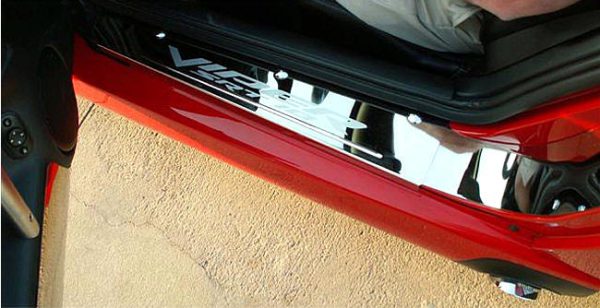
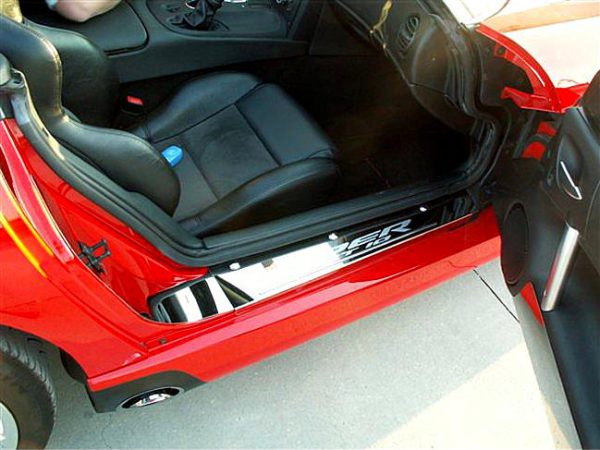
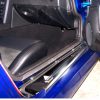
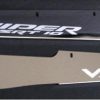
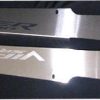
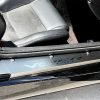
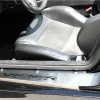
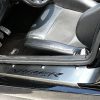
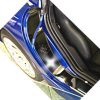
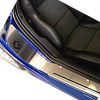
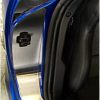
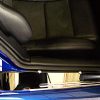
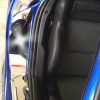
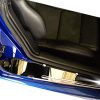
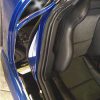
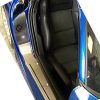
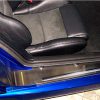
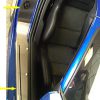
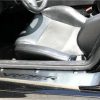
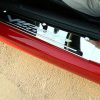
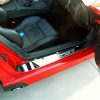
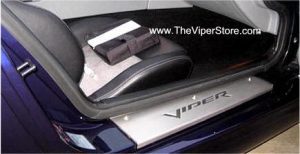
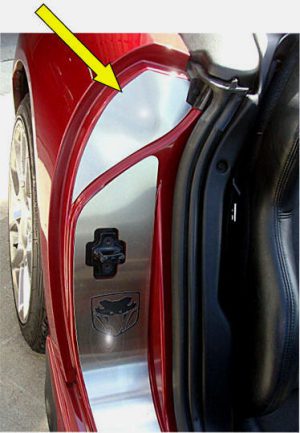
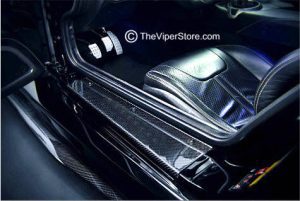
This is a full, super high-quality door sill that extends from the door hinge up to near the top of the window. It includes a chrome “Viper SRT-10” sticker and a stainless steel 3D Viper head logo. You won’t find a higher-quality Gen III door sill anywhere! It makes a stunning impression when you open the door.
Completely stainless steel, it will not rust, corrode, stain, or lose its luster. Installation is easy—remove a few screws from the current stock door sill area, set the new sill system in place, and then reattach the screws. It’s that simple!
Guaranteed, you’ll love the look so much you’ll want to keep your doors open all the time. Includes a set of two door sills, one for each door. When installed properly, they will stay secure and will not come off due to heat, cold, or vibration.
INSTALLATION INSTRUCTIONS
Parts Included:
- 2 x 2-piece stainless door sills (polished or brushed)
- 2 x adhesive promoter packs
- 1 x test tape kit
- 6 x 3/4″ – 6 mm button head screws
- 6 x washer-head style #8 screws (3/4″)
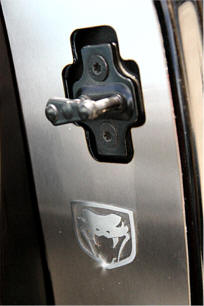
- 6 x decorative bolt head covers
- 2 x large “Viper SRT-10” stickers
Your new sills come with a protective liner. Do not remove the liner until instructed to do so.
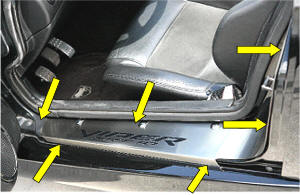
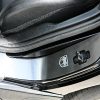
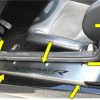
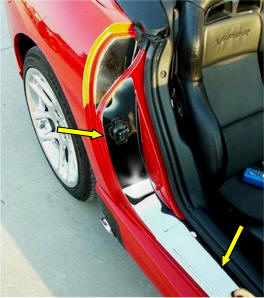
- Remove the three factory screws from each side of the car. Note: These will not be reused. Save them in case you remove the door sills later. We have provided two different sets of screws (6 × 3/4″ – 6 mm button head and 6 × washer-head style #8 screws). Replace the factory screws with whichever type fits correctly.
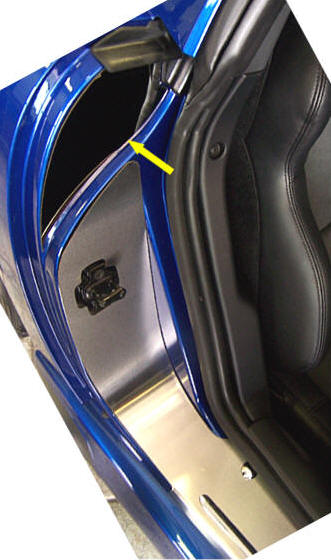
- Clean the entire sill area using rubbing alcohol. Scrub thoroughly up to and around the door catch. Apply the adhesive promoter provided to the area around the door catch down to the first screw location.
- Hand-shape the door catch section of the sill so it matches the contour of the door sill area perfectly. It should fit naturally and sit flat without forcing any part into place. Once shaped, peel off the red release liner and press the section firmly into position. Then remove the protective liner.
- Set the main door sill section in place over the end of the catch section and bolt it on using the three replacement screws provided. Tighten snugly but do not over-tighten, as this can distort the sill. After fastening, remove the rear protective liner and press the three decorative chrome bolt head covers onto the screw heads.
- Repeat the process for the opposite side.
If you have any questions during installation, please contact us at 352-688-8160 (Monday–Friday). Thank you, and enjoy your new purchase.
Note: Take care when cleaning your sills. Lightly dust them with a clean, soft cloth first to prevent scratching. Then wipe with a high-quality, streak-free glass cleaner using a new, soft cloth.


Reviews
There are no reviews yet.