
Description
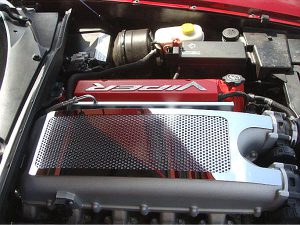
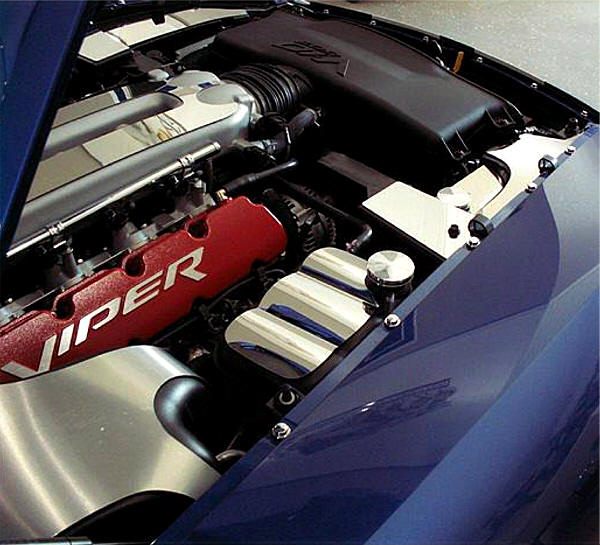
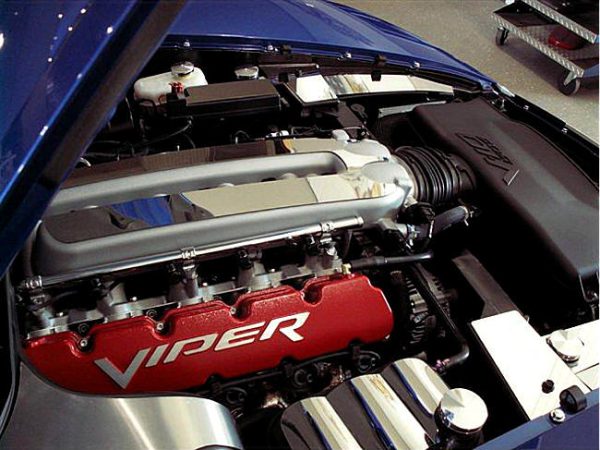
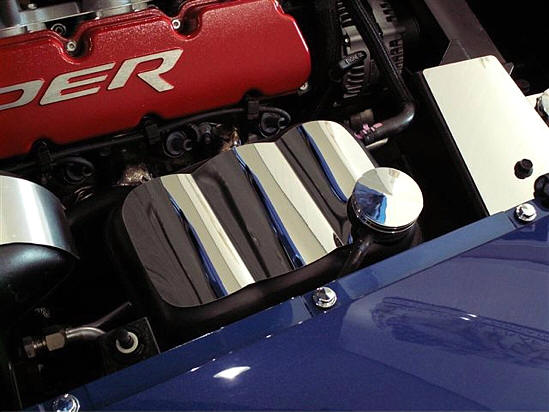
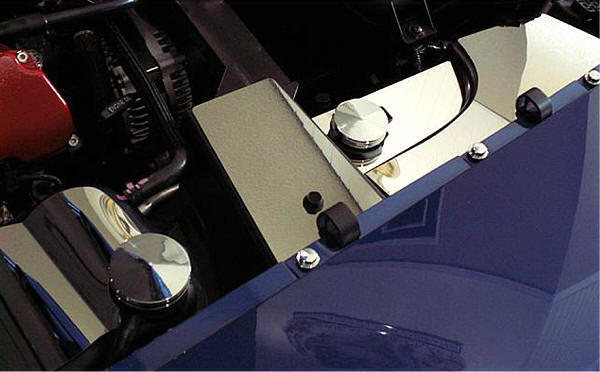
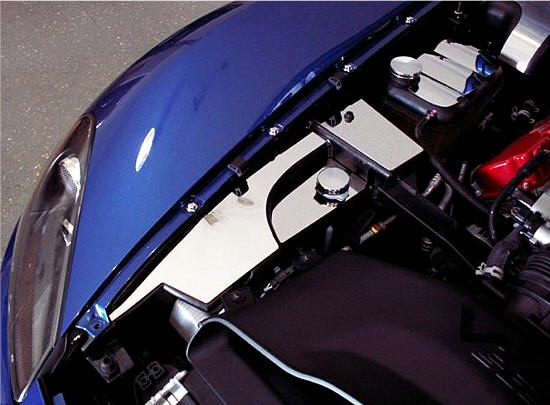
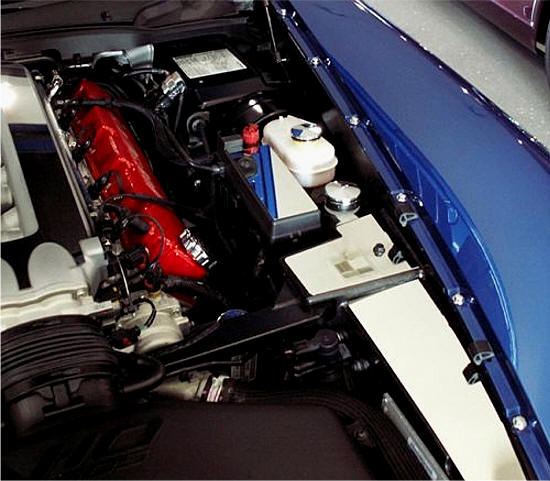
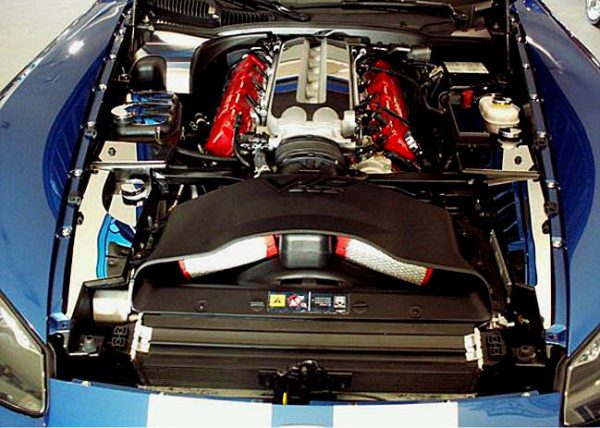
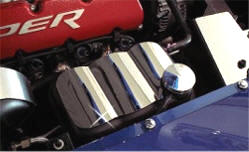
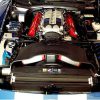
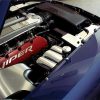
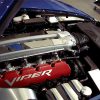
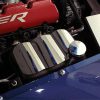
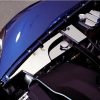
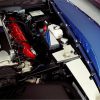
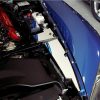
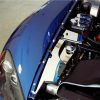
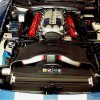
This seven-piece (7) engine trim kit features a different style than the individual component covers. The kit includes smaller top panels (whereas the individual component covers are full covers), designed for the inside of the engine bay. Make your V-10 engine stand out with these custom, highly polished stainless steel cover plates.
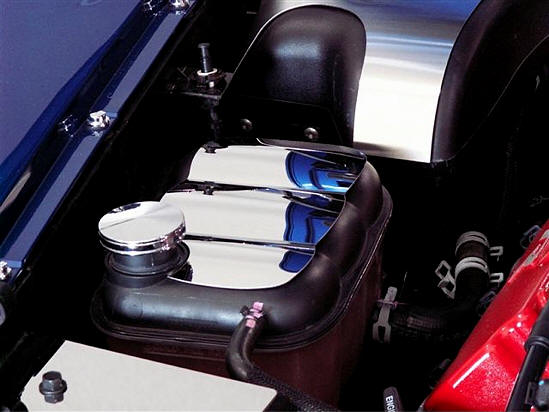
Note: Chrome fluid caps are sold separately. See the bottom of this page.
Easy installation – simply peel and stick.
Some pieces may require slight bending by hand to match the components’ curves.
Turn your Viper SRT-10 into a show car when you open the hood and show off that V-10 beast!
Will not rust or corrode.
Component Chrome Caps sold separately on this page – Part# ACC-973009.
DODGE Viper SRT/10 2003–2006 Stainless Steel Engine Bay Trim Kit – 7pc
Part# ACC-973015
Instructions
Parts Included: 7 x Stainless Engine Trim Plates; 2 x Adhesive Promoter Packets.
This new kit is uniquely designed to enhance what is already a state-of-the-art engine bay. We’ve developed a 7-piece kit that will elevate the look without taking away from the OEM high-tech appearance.
Your new kit includes a clear protective liner. Do not remove this liner until installation is complete.
Installation Steps:
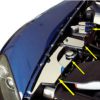
- Prepare all seven mounting locations by scrubbing them with rubbing alcohol to remove dirt and road grime. This ensures strong adhesion. Once cleaned, wipe the areas with the adhesive promoter pack provided.
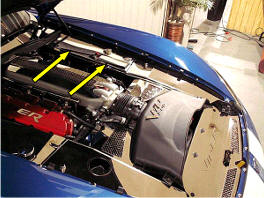
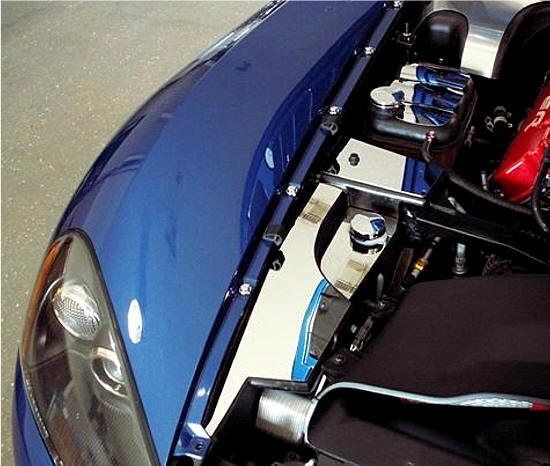
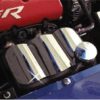
- Take each engine trim piece (without removing any protective backing or liner) and place it on the engine component where it belongs. Adjust each piece until you’re comfortable with its fit. Some pieces may need gentle bending to match the component’s contour. Use gloves or a towel to bend the metal safely and avoid injury or damage.
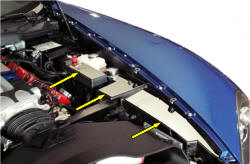
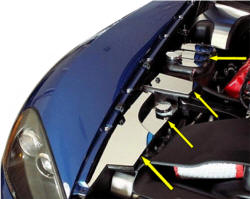
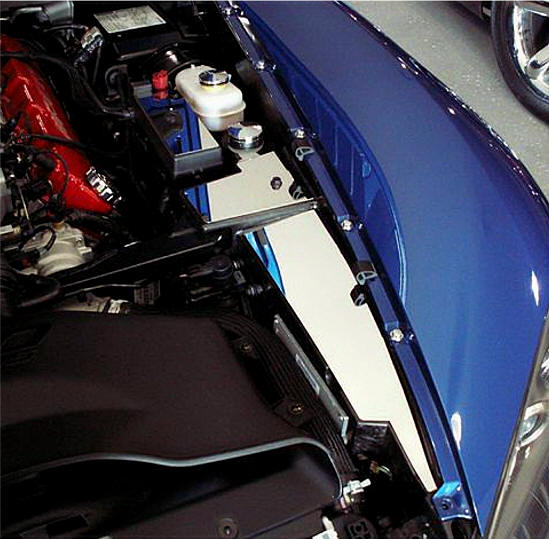
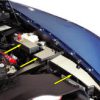
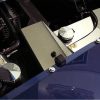
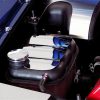
- Temporarily remove the two body bolts located in front of the water tank and fuse box.
- Position each stainless insert to familiarize yourself with placement before applying. This step is important because the 3M adhesive is very strong and will not allow repositioning once set in place.
- After all seven areas are cleaned and prepped, peel the red release liner from each piece and press it firmly into position. Once secured, remove the protective liner.
- Reinstall the two body bolts removed earlier. Do not overtighten — these are positioning bolts, not structural ones. Tightening too much may damage the insert. Snug is sufficient.