


Description
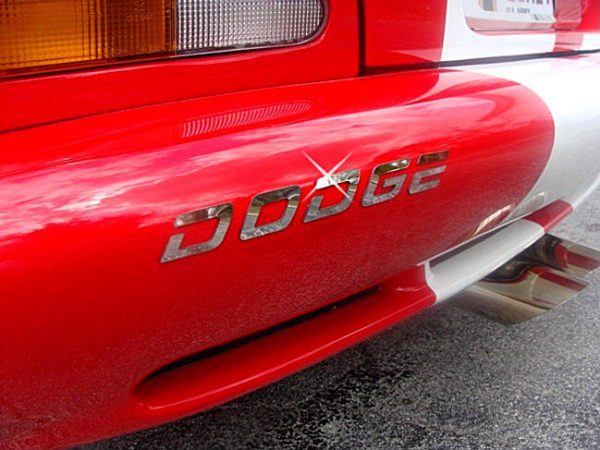
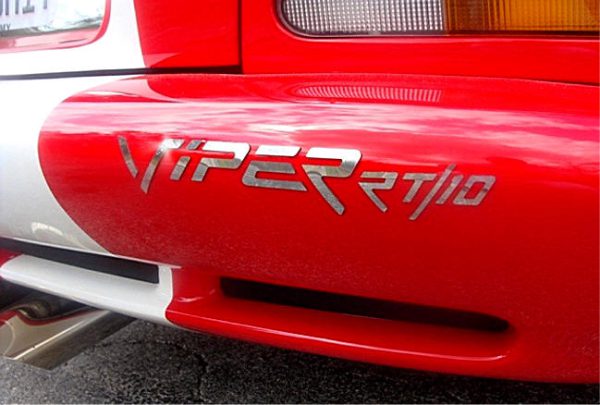
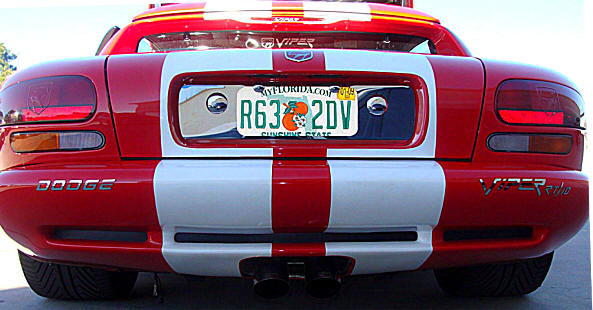
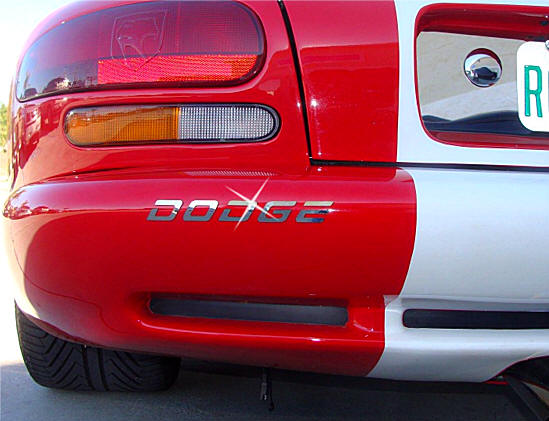
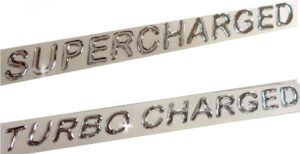
Stainless Steel High Polished Letters for Bumper Emblem Replacements
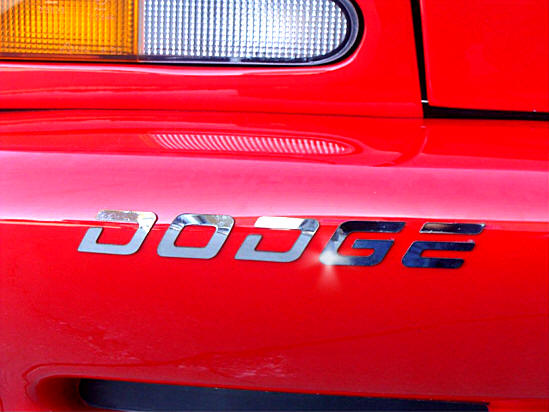
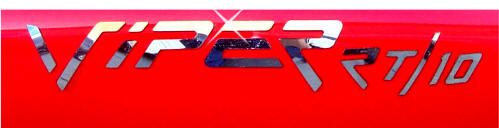
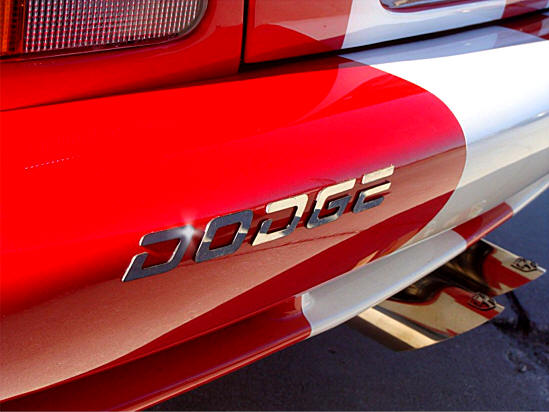
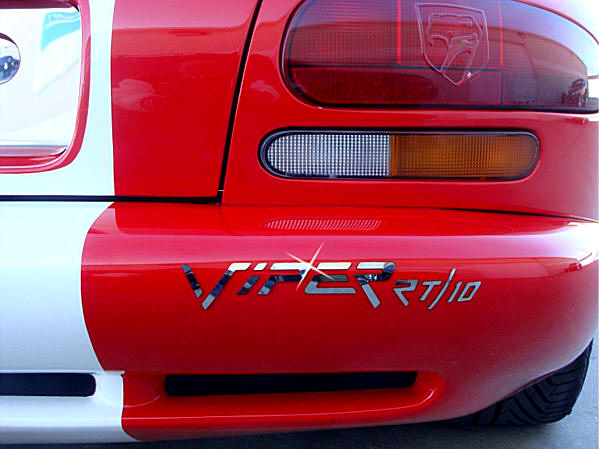
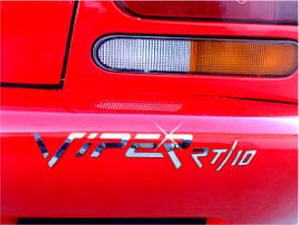
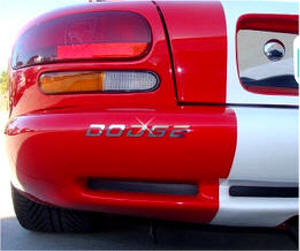
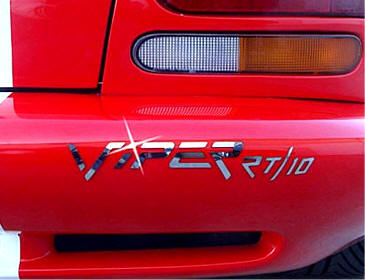
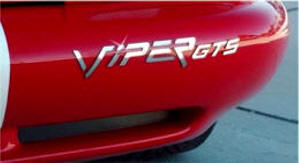
There is no background. The set of letters peels off and sticks onto your car’s body. Stainless steel high-polished letters, overall sizes: “VIPER RT/10″ 1 ¾” x 10″ and “DODGE” 1″ x 8″. Your stock emblem letters on your fender and back bumper peel off easily without damaging your paint. Replace them with these stainless steel high-polished letters!
Easy peel-and-stick mounting.
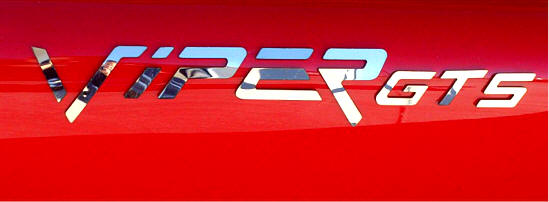
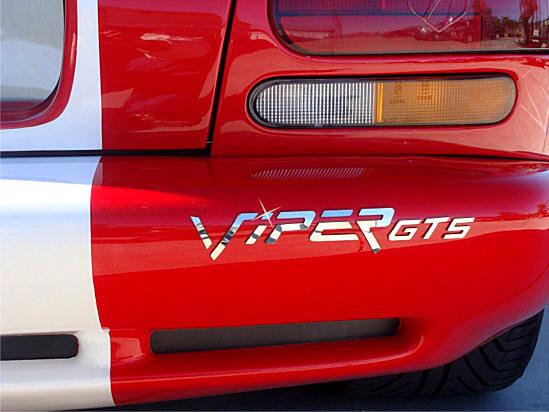
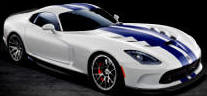
What a difference these logos make on your Viper! Will not fade, rust, or lose their luster.
You receive one VIPER RT/10 and one DODGE stainless steel emblem.
Size: Similar to stock bumper emblems.
For all Replacement Letter Emblems
Mounting Instructions
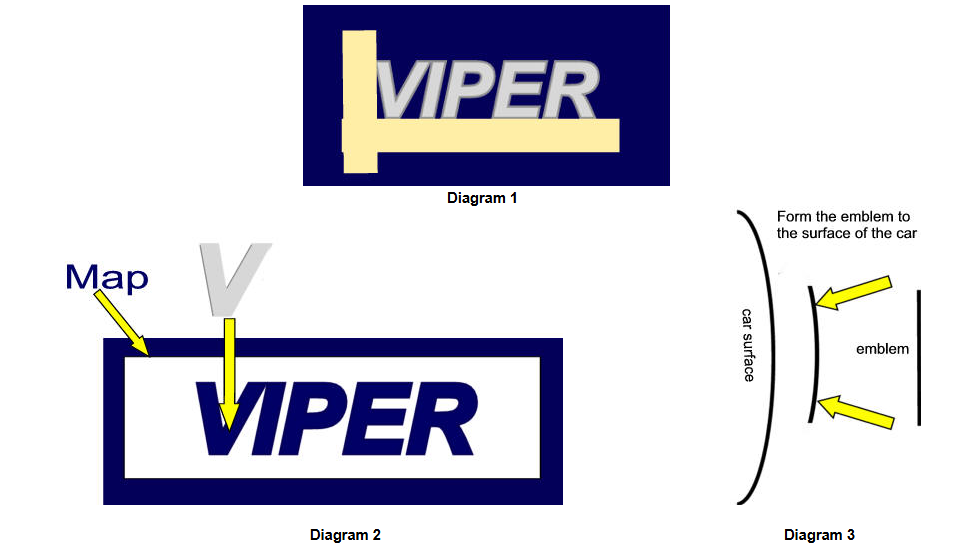
Included: Map, promoter packet, pink emblem remover tool, emblem(s)
- First, wash the area on the car where you are to mount the emblems with soap and water. Next, wipe down the area with some rubbing alcohol. This will help remove any oils on the paint surface. This will not hurt your paint. If you wax your car, you need to wash the surface with an isopropyl solution, which can be found at any hardware store. If the surface where you are mounting your emblem has any wax or oil (even from your fingers), you will not get a good bond.
- Removing the old emblem: Take some masking tape and outline the logo on the bottom, left side (not the right side). This will give you the outline of where to mount the new emblem. You will have masking tape on two sides shaped like an “L”. See diagram 1.
- Take the pink scraper included and carefully pry underneath the old emblem (Diagram 2). The tool should remove the old emblem easily without scratching your paint.
- Now, leaving the masking tape on as a guide, take the back side off your “map” sheet and stick it on the car over the masking tape. Ensure the letters are lined up where you want them to be. Now peel the front clear sheet off the “map”.
- Important: Some mounting surfaces will be curved. Take the new emblem and slightly bend the letters to match the curve of the car surface. Try a small bend, place the emblem on the car, and see if it fits. Adjust as necessary. See diagram 3.
- Take your new emblem letters and, without peeling off the backing, hold one at a time up to the spot where it is to be mounted in the appropriate cutout in the map. Become familiar with where each letter will mount. You can also mark tick marks on the masking tape if exact placement is needed. Once satisfied, take your packet of promoter included and wipe the area inside each letter on the map using the damp towelette or pen where the new emblem letters will mount (this will not hurt your paint).
- Peel the liner off the back of the new emblem and carefully hold it up to the spot where it is to be mounted. Gently set the new emblem in place without pressing on it. Make any tiny adjustments needed (see Diagram 3). Now press firmly on the new emblem all over its surface to form a tight bond. Repeat for each letter. Remove the map sheet and the masking tape. You’re done!


Reviews
There are no reviews yet.