


Description
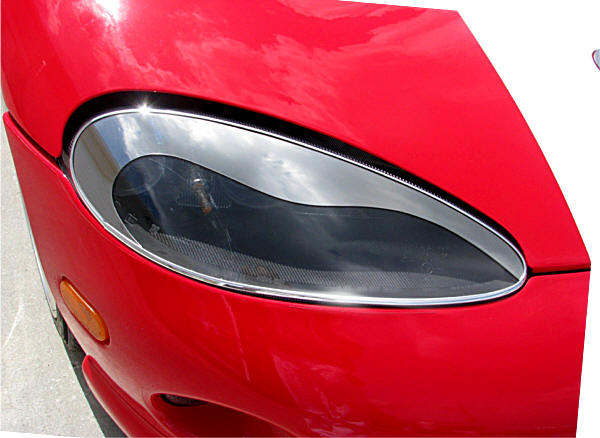
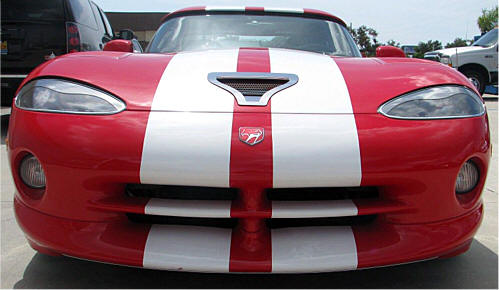
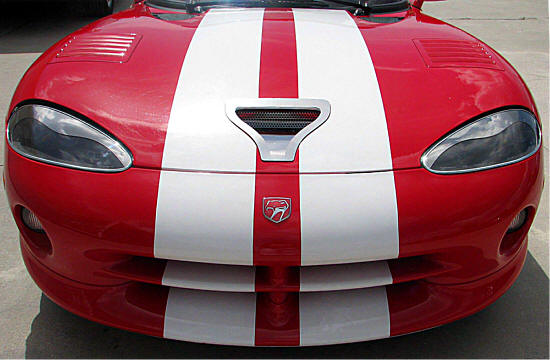
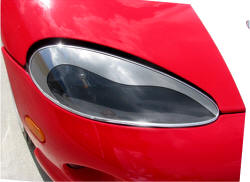
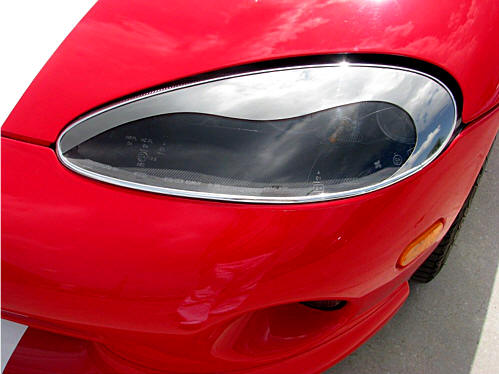
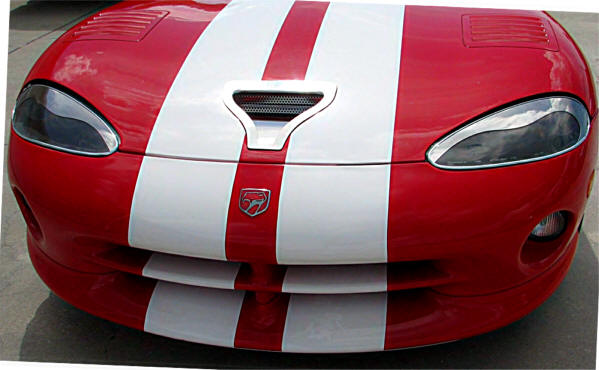
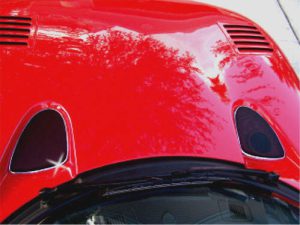
Made of chromed ABS resin, these eyebrows add a distinct, aggressive look to your Snake, presenting a more mean and sporty appearance. Easy peel-and-stick mounting. Includes a set of 2 headlight eyebrows and instructions.
Fits GTS and RT-10.
INSTALLATION INSTRUCTIONS
NOTE: Your new covers come with a clear protective liner. Do not remove the liner until installation is complete.
PARTS INCLUDED:
- 2 x Chrome Eyebrows
- 2 x Chrome Molding Strips
- 1 x Adhesive Promoter Pack
- 1 x Adhesive Promoter Tube
- 1 x Plastic Squeegee
This headlight kit comes with a clear protective liner. Do not remove the liner until the end of step 2.
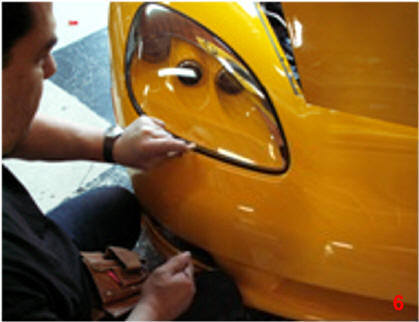
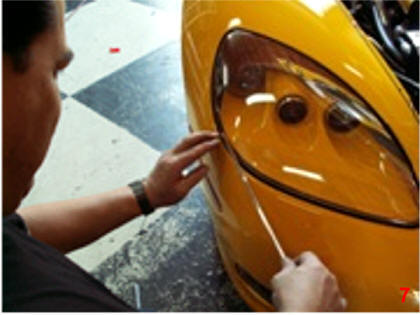
- Clean your headlight first with soap and water, then with household isopropyl alcohol, and let it dry. Swipe the area ONLY where you will be placing the new cover with the adhesive promoter packet (provided). Be careful not to apply the adhesive promoter to the clear area of the lens where the chrome will not cover, as it will leave a visible smear. Once applied correctly, you may begin installation.
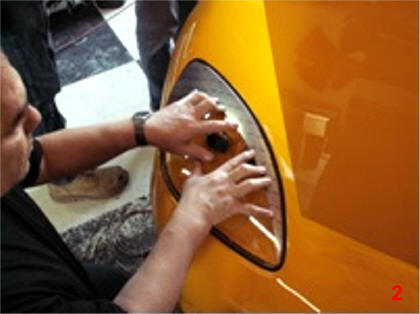
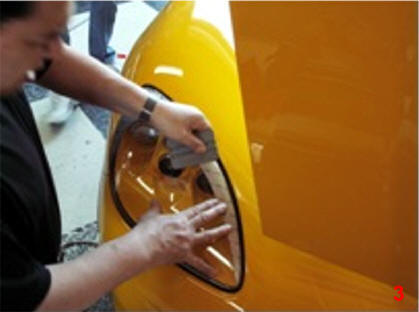
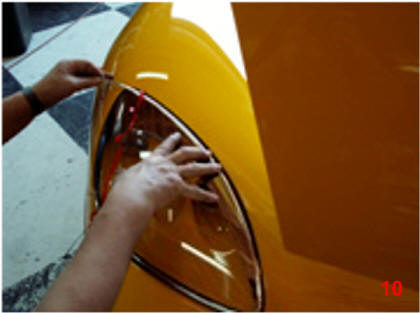
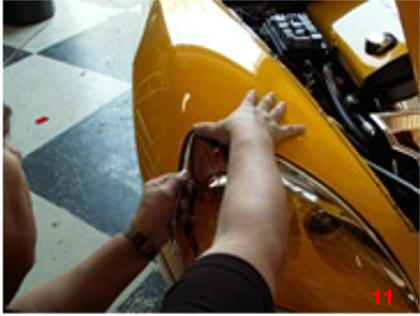
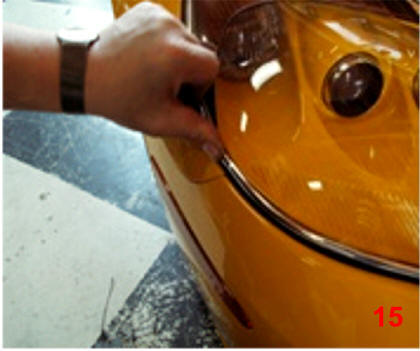
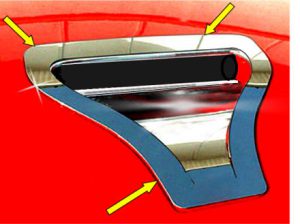
- Refer to pictures as you continue through steps 2 and 3. Place the new cover over the headlight so that it fits along the upper edge, noting its position. If positioned correctly, there will be about a 1/8” space between the edge of the eyebrow and the edge of the light. This space will be covered by the chrome trim in the following steps. Begin permanent installation by peeling the release liner from the underside and carefully repositioning the cover from the small side to the larger section, using the plastic squeegee to press down evenly and avoid air pockets. Remove the protective liner.
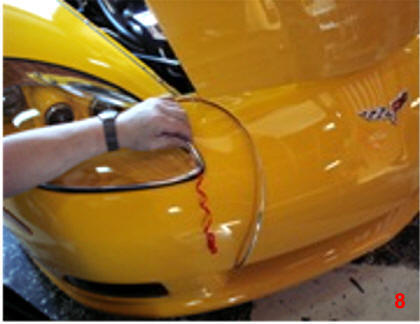
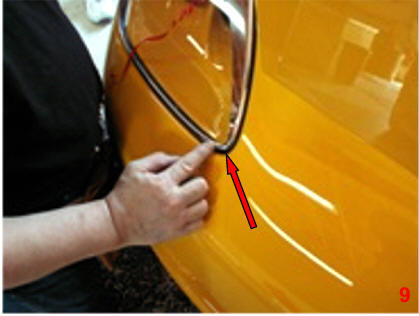
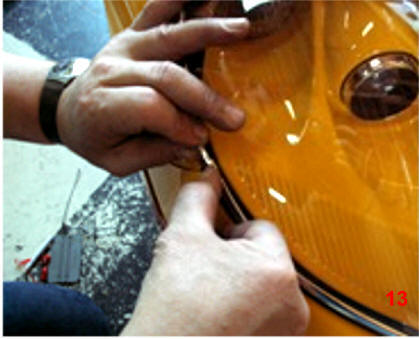
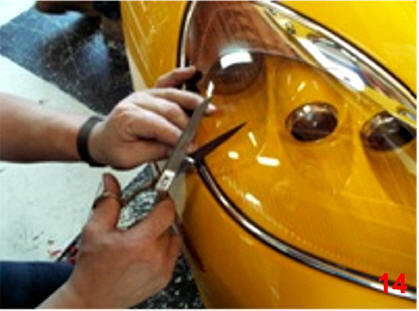
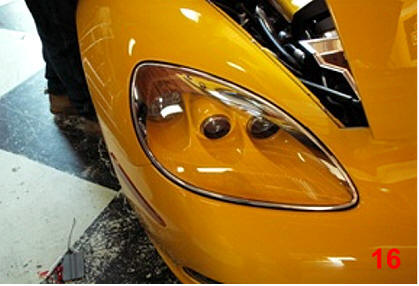
- You have been provided with a length of chrome trim to cap the headlight cover and border the entire headlight. Apply a small bead of the adhesive promoter from the tube around the edge of the headlight. Begin placing the trim starting at the body seam by the headlight edge directly to the top side of the lens, NOT covering the 1/8” gap created during placement. Pre-bend the trim at corners to fit naturally. Continue around to the start point, mark the overlap slightly longer, then trim with scissors. Buckle the two ends together and press firmly to set a tight seam. Press the entire trim to permanently set. Repeat steps 1–3 for the opposite side. TECH TIP: Use a little instant adhesive at the butt seam to prevent separation or shrinkage over time.
NOTE: After installation, DO NOT GET WET FOR 24 HOURS.


Reviews
There are no reviews yet.