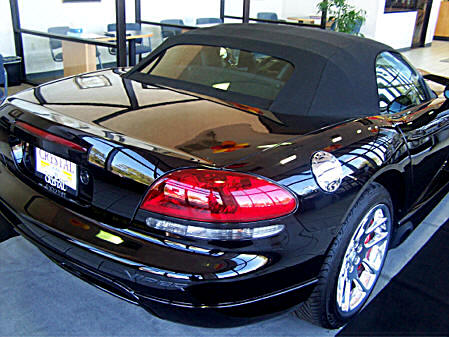


Description
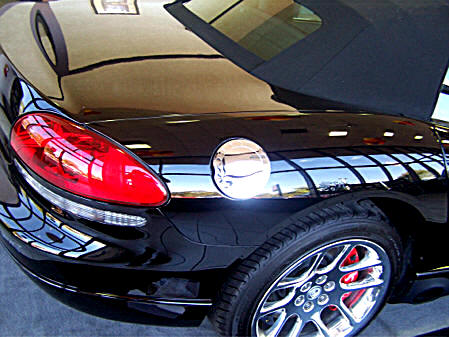
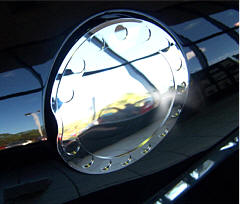
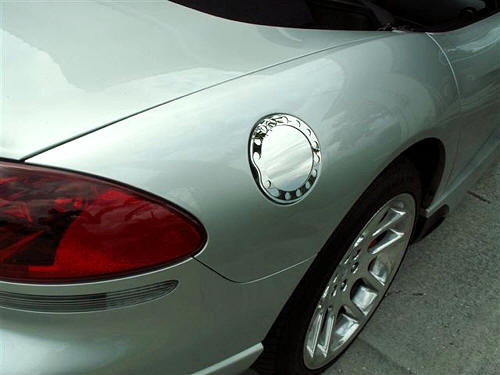
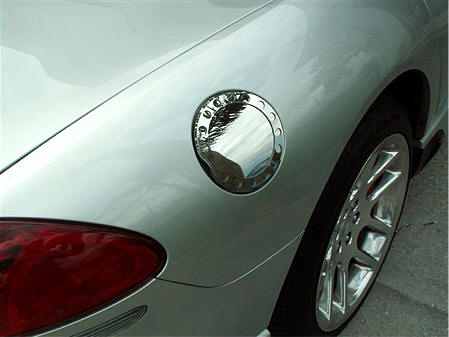
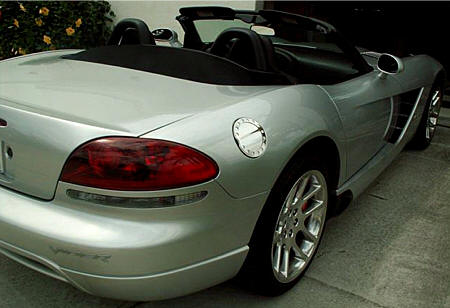
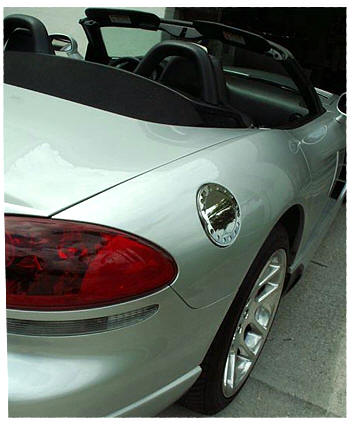
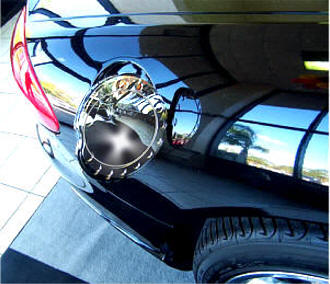
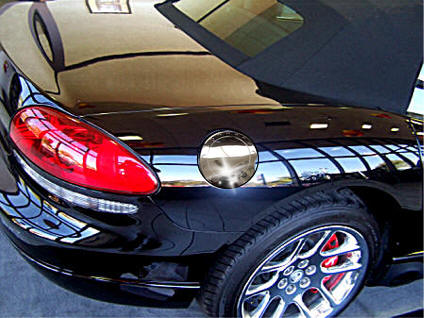
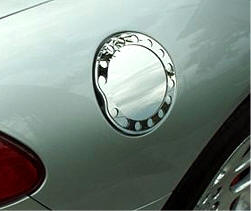
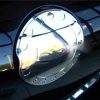
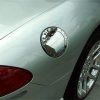
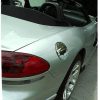
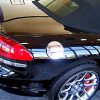
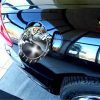
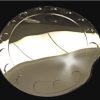
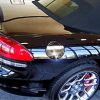
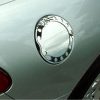
This extremely high-polished stainless steel cap simply fits right on top of your existing cap. Won’t rust or corrode. It is a real attention-getter and easy to mount in minutes. You do not have to remove any existing parts. Really stands out and gets compliments.
When installed properly, it will stay put and will not come off due to heat, cold, or vibration.
Installation Instructions
Items Included: 1 x Gas Cap Cover; 1 x Adhesive Promoter; 1 x Tape Test Kit
Notes:
- Care must be taken when cleaning your gas cap cover since it can be scratched easily. Small black specks on the surface may appear — this is a tiny bit of excess glue, which can be removed by wiping with a soft cloth and a quality streak-free glass cleaner.
- Leave the clear plastic sheet on top of your gas cap until installation is complete to prevent scratching the surface.
Installation Steps:
- Clean the gas cap area first with soap and water to remove any dirt. Then wipe thoroughly with household rubbing alcohol and let it dry.
- Test the surface of your painted stock gas cap cover to see if it will hold the tape. Take a piece of the Test Tape (included) or masking tape and stick it to your car’s gas cap. Try several areas. If it sticks, proceed to the next step. If not, re-clean until it sticks everywhere.
- Without removing the backing, place the cap on top of your existing cap to line it up and check the fit. You may have to slightly hand-bend your new stainless steel cap to fit the exact curve of your car. It should set smoothly along the car’s surface when mounted.
- Carefully open the packet of Adhesive Promoter. Keep it upright to avoid spilling. Using the sponge from inside the packet, carefully wipe only the area where you will stick the gas cap, covering the entire surface of the existing gas cap. Install the cap immediately while the promoter is active.
- Peel the red liner off the back of the covering material without removing the front clear protective layer on your new cap.
- Carefully hold the cap just above the surface and position it without pressing down. Use the finger hump on the left side of your existing gas cap to line up the new cap.
- Important: Once the backing comes in contact with a surface, it is stuck permanently. The new cap is slightly larger in diameter than the factory cap, creating a slight overhang. Make minor adjustments as needed. Once positioned, set the cap down lightly. Ensure your gas cap opens properly. Make final adjustments quickly, then firmly press down over the surface of the cap for a permanent bond.