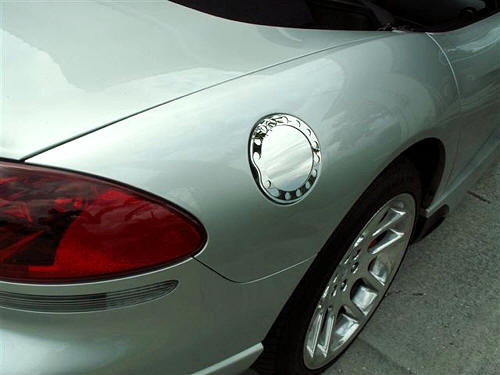
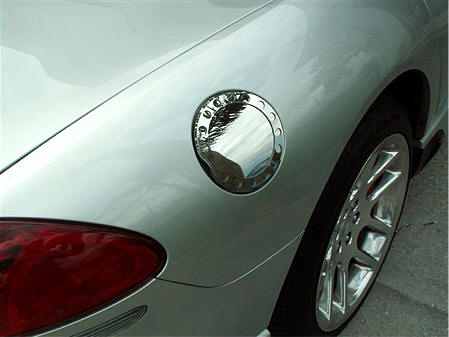
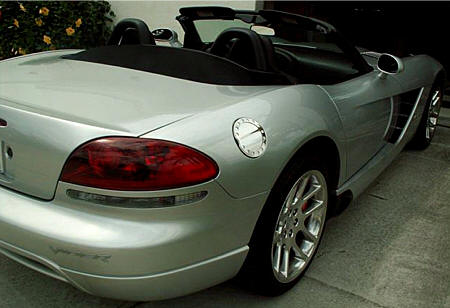
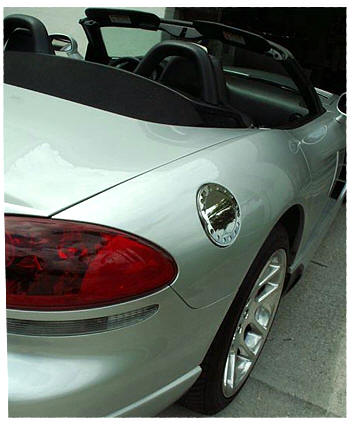


Description
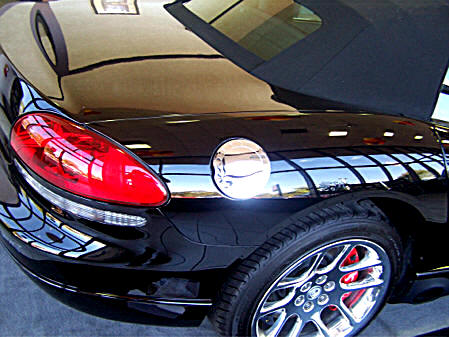
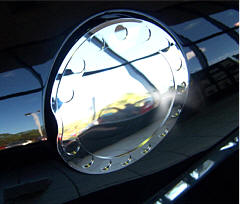
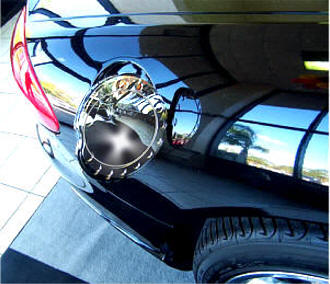
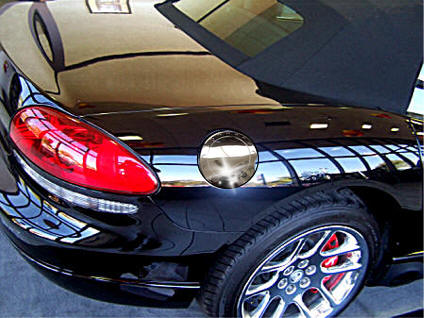
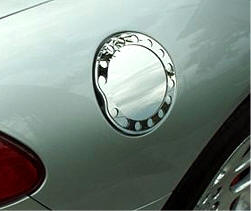
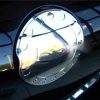
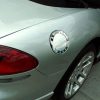
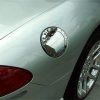
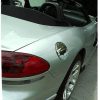
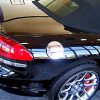
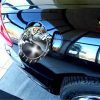
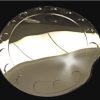
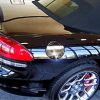
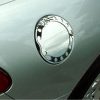
Viper billet aluminum fuel door. Now you can have the race car look you always wanted. No drilling required. Instructions included.
INSTALLATION INSTRUCTIONS
Items Included: 1 x Gas Cap Cover, 1 x Adhesive Promoter, Tape Test Kit
Note: Care must be taken when cleaning your gas cap cover, as it can be easily scratched. There may be small black specks on the surface. This is excess glue. You can remove it by wiping with a clean soft cloth and a good quality streak-free glass cleaner.
Note: Leave the clear plastic sheet on top of your gas cap until installation to prevent scratching.
- Clean the area under the cap with soap and water to remove dirt. Then wipe thoroughly with rubbing alcohol and let it dry.
- Test surface adhesion using the included tape or masking tape on several areas. If it sticks properly, proceed. If not, clean again until it adheres everywhere.
- Without removing the backing, place the cap on the existing gas cap to check the fit. You may need to slightly hand-bend it to match the curve. It should sit smoothly on the surface.
- Open the adhesive promoter carefully. Apply only to the mounting area using the included sponge. Install immediately while active.
- Peel the red liner from the back without removing the front protective film.
- Position the cap carefully without pressing down. Align using the finger hump on the existing gas cap.
BE CAREFUL: Once contact is made, the bond is permanent. The cap is slightly larger than factory size, so a slight overhang may occur. Adjust quickly, then press firmly for final installation.