


Description
Race Car Look Series
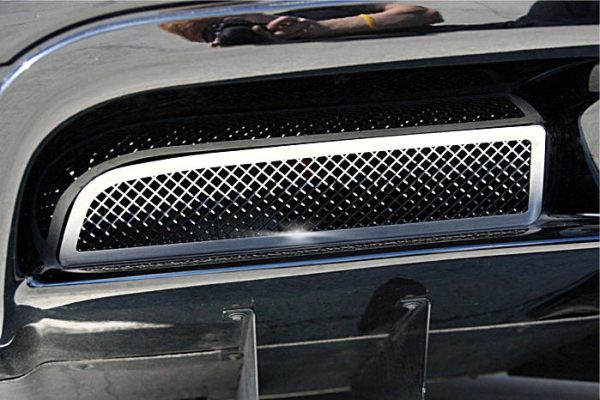
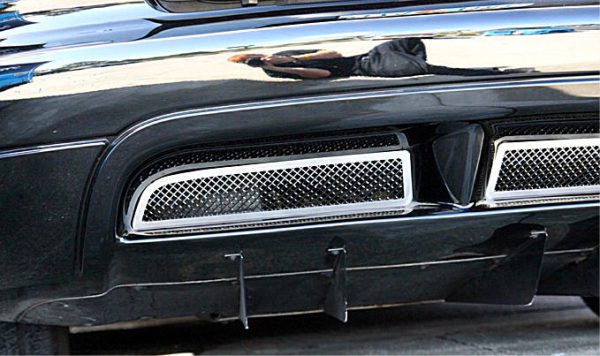
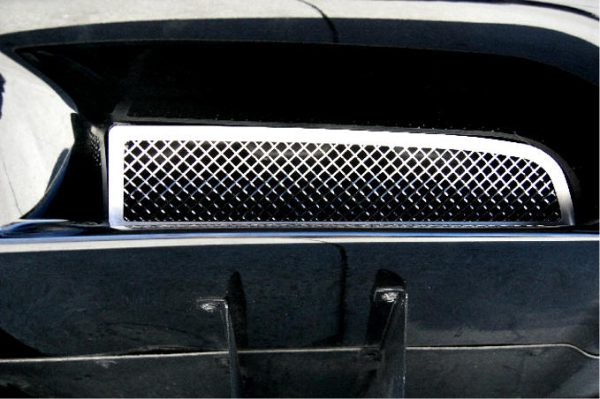
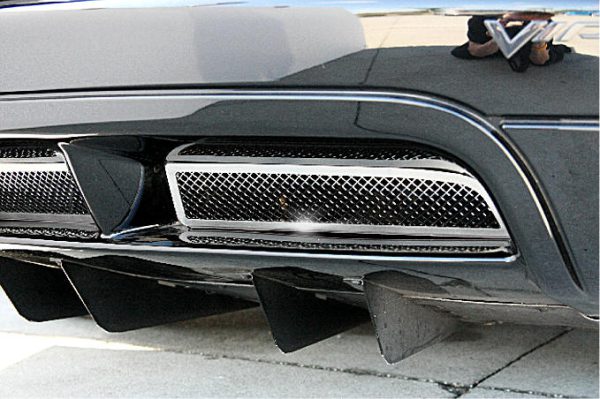
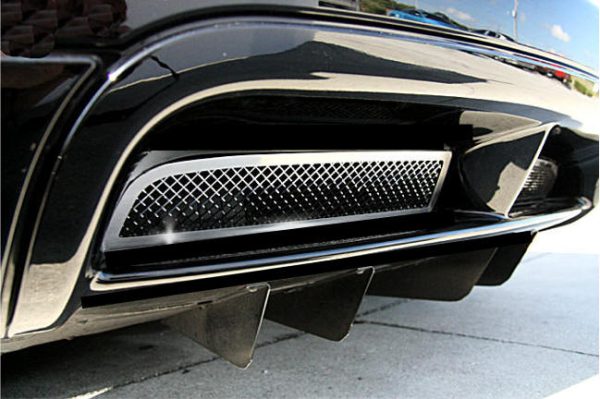
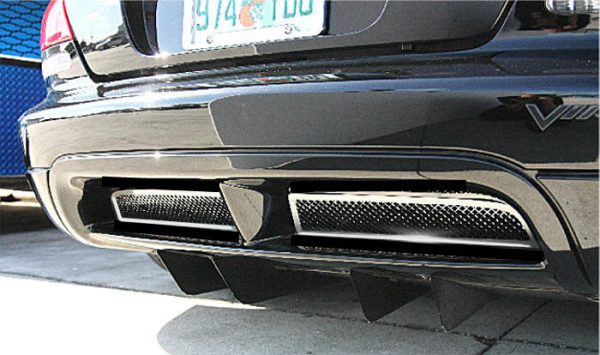
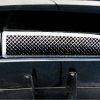
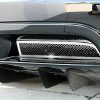
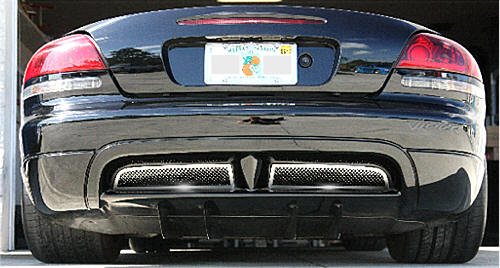
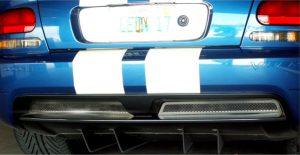
“A jaw dropper”! Gorgeous 2-piece rear grilles make your rear end sparkle and give it a professional race car look.
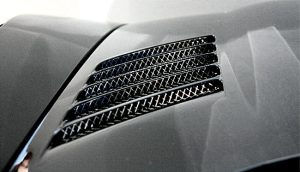
Made of solid stainless steel and laser cut to perfection. Will not rust, corrode, or lose its luster.
Easy peel-and-stick installation—no screws, drilling, or cutting required. Parts can be removed, and the car will return to stock if you choose.
INSTALLATION INSTRUCTIONS
PARTS INCLUDED: 2 x Stainless Perforated Rear Grilles; 1 x Chrome Vinyl Strip; 2 x Adhesive Promoter Packs
These new stainless grilles are designed to add a sleek performance look to the rear valance of your Viper.
- Scrub the lower back edges of the valance with alcohol to remove all road grime and dirt. Then apply the provided adhesive promoter to the back edges of the opening.
This is crucial to ensure a strong, permanent bond of the new grille. - Remove the carpet pad from the trunk area and the factory battery cover to allow access to the rear of the grilles.
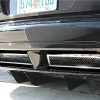
- Starting with the passenger side, place the appropriate grille into the valance opening to familiarize yourself with its positioning.
Reach over from the driver’s side opening to manipulate the grille into place. A properly placed grille aligns the two back corners with the edge of the opening.
Due to the slight curve of the opening, the center may not align perfectly, but it will make enough contact to allow a bond.
Start by placing the grille into the center of the valance hole at the rear corner, then swing the outer end into position. Push firmly at the top and squeeze the grille and valance together to ensure a strong bond. - The driver’s side is easier since you can reach the rear of the grille through the battery opening. Place it in position as done on the passenger side and firmly squeeze the back edge to create the bond. Replace the battery cover and carpet.
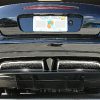
- Once the grilles are installed, take the long chrome vinyl strip and hold it up to the rear end, as it will be mounted.
Remove the backing film to expose the tape. Wipe the area with the promoter where the strip will be attached.
Carefully align the strip and press firmly across its entire length. Let it sit for 4 hours.


Reviews
There are no reviews yet.