


Description
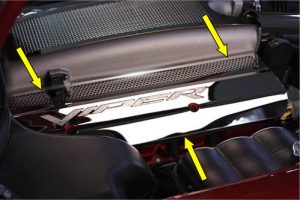
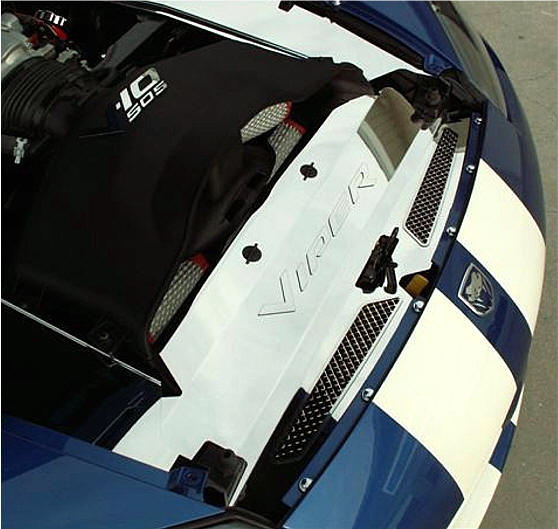
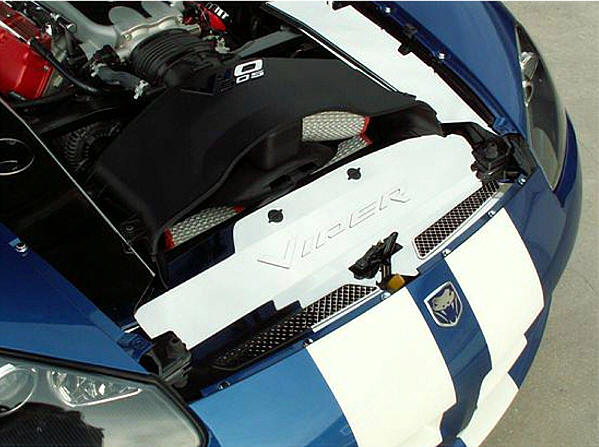
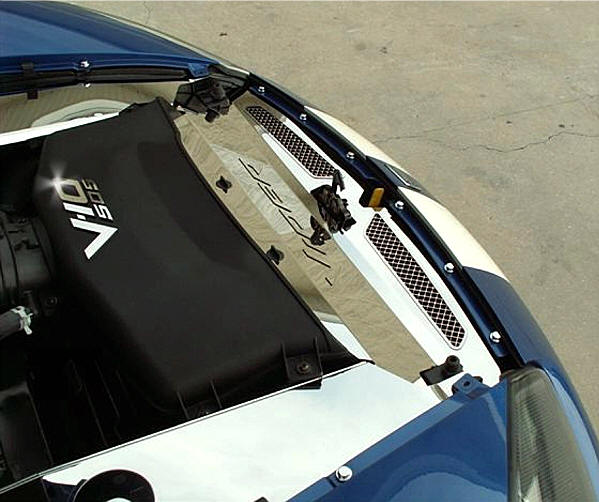
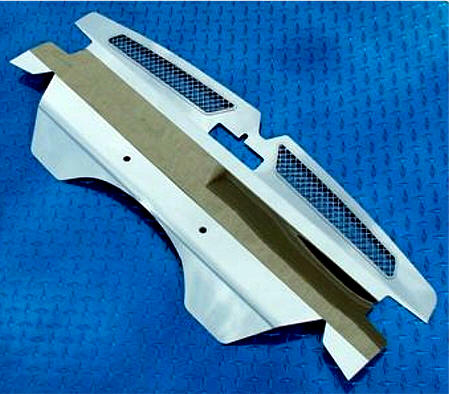
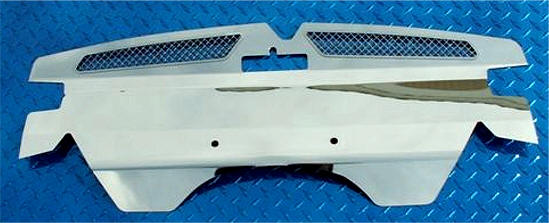
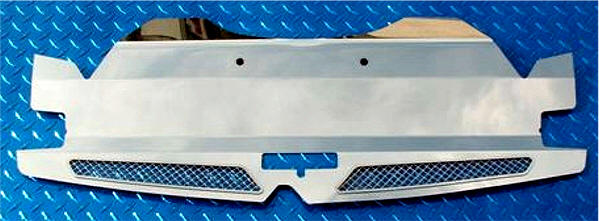
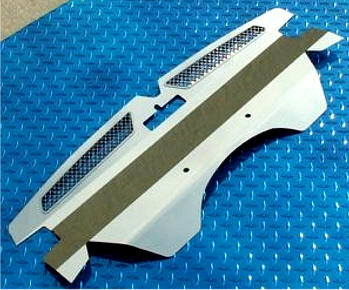
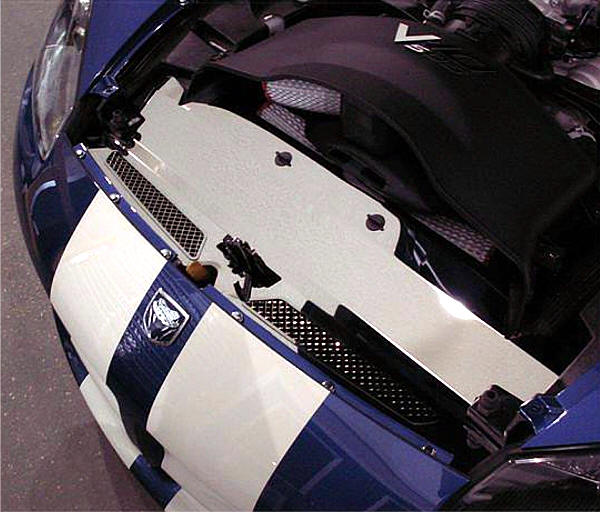
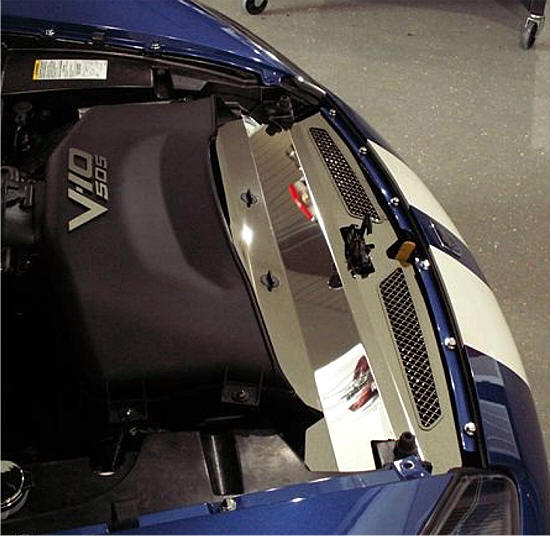
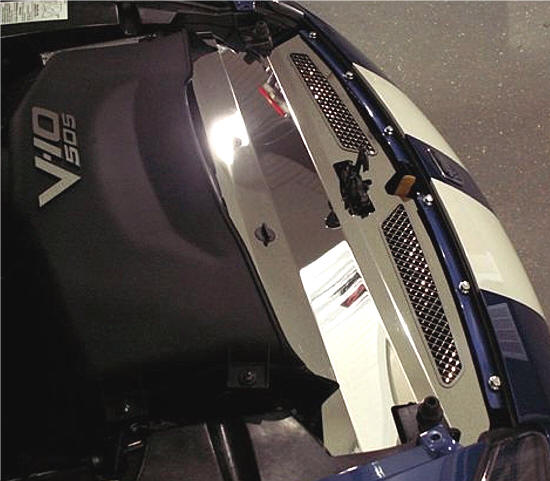
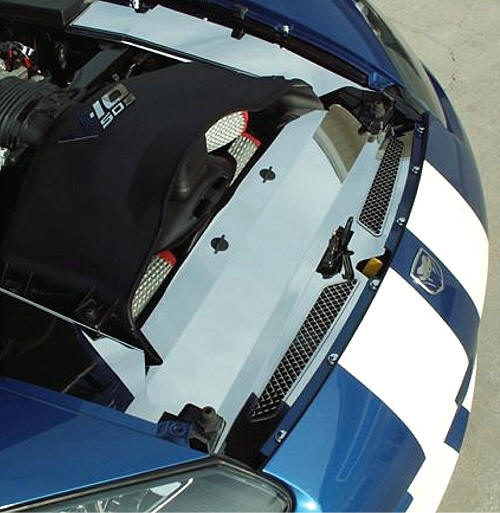
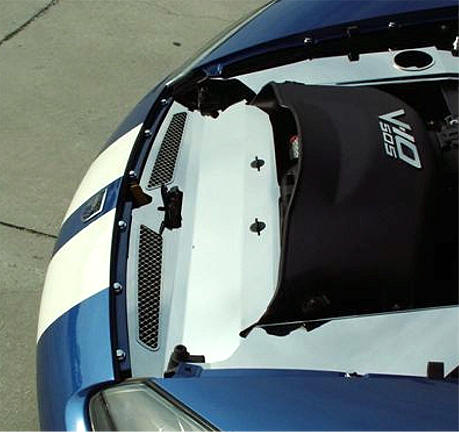
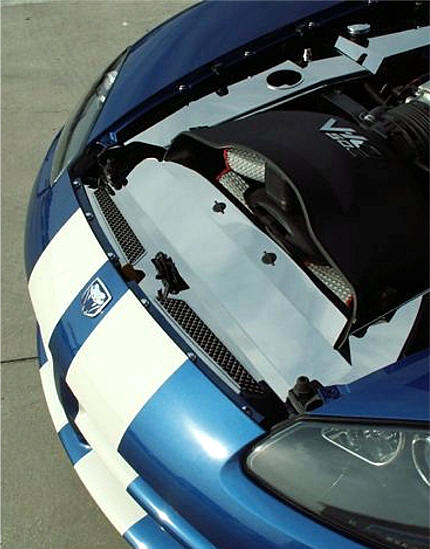
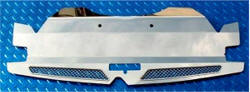
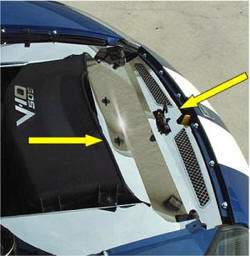
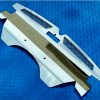
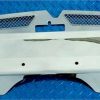
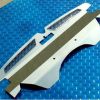
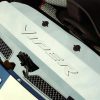
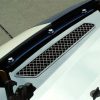
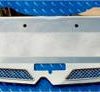
Stainless Steel Highly Polished Viper SRT-10 Header Plate
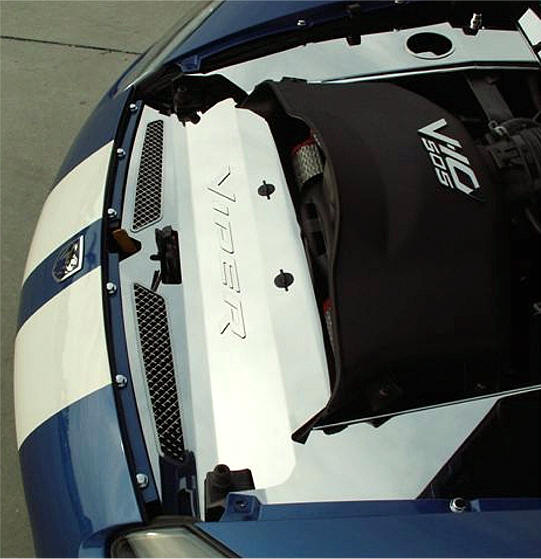
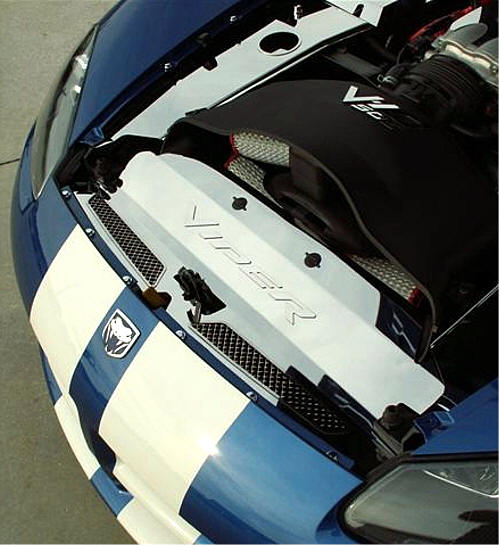
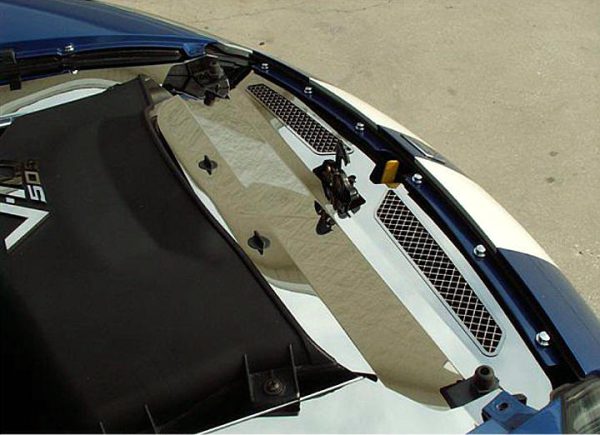
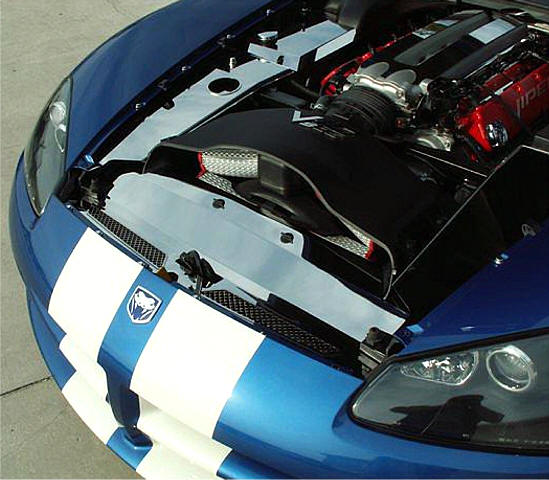
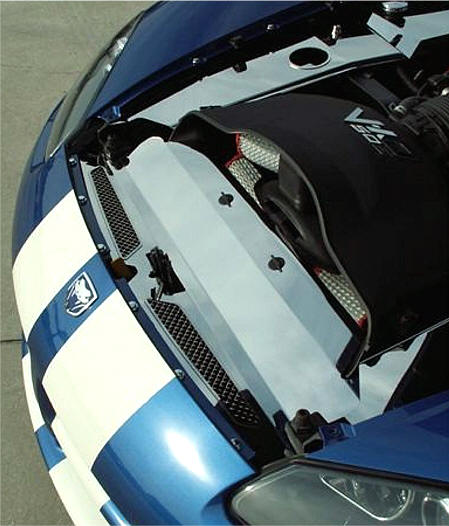
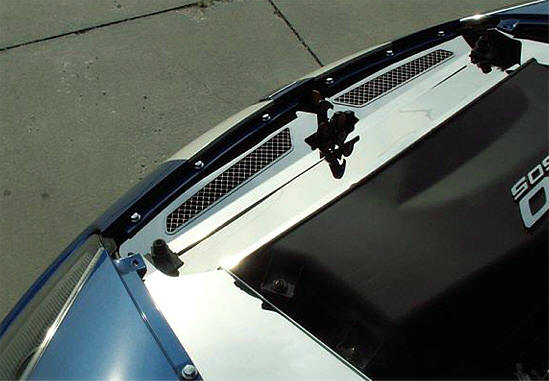
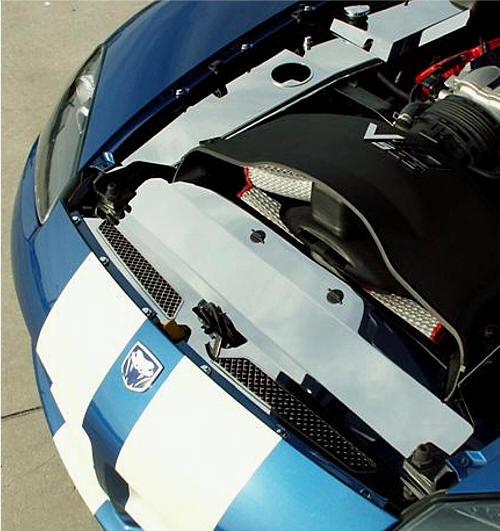
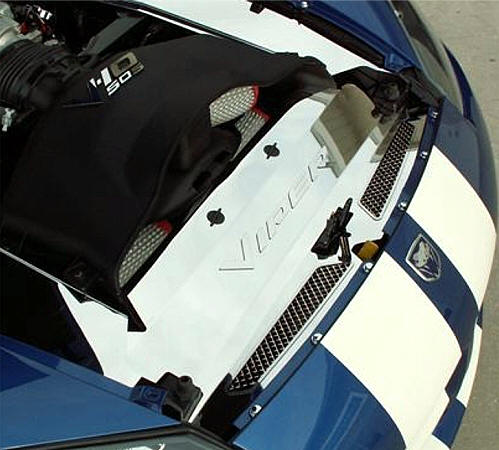
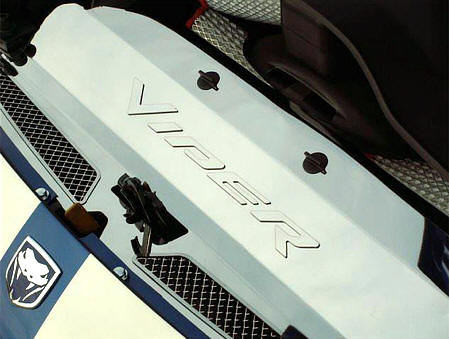
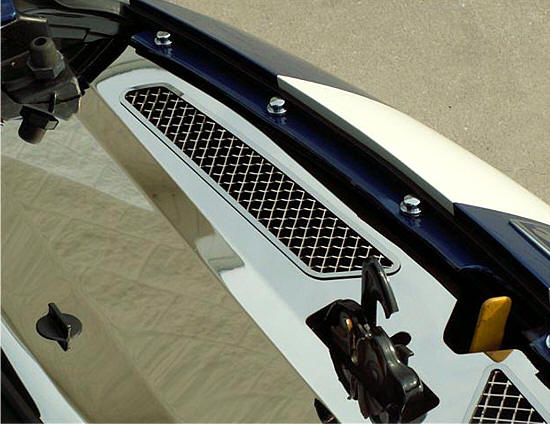
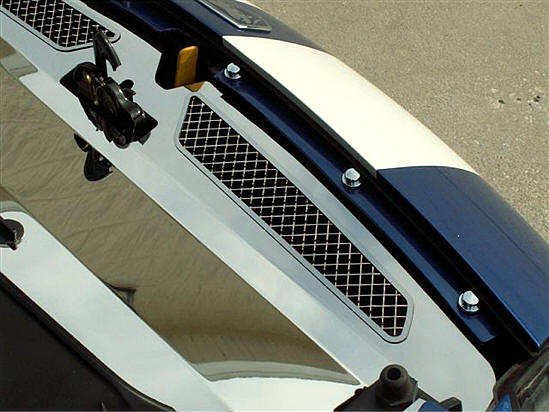
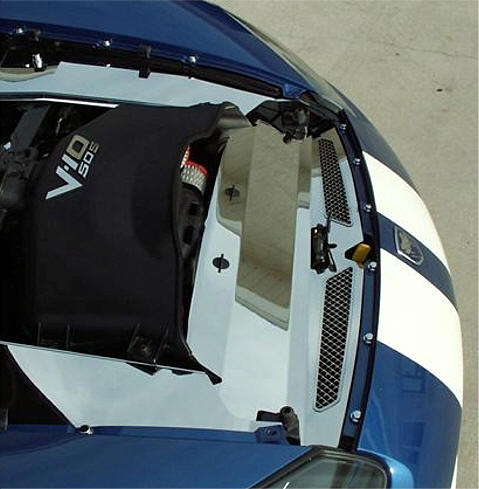
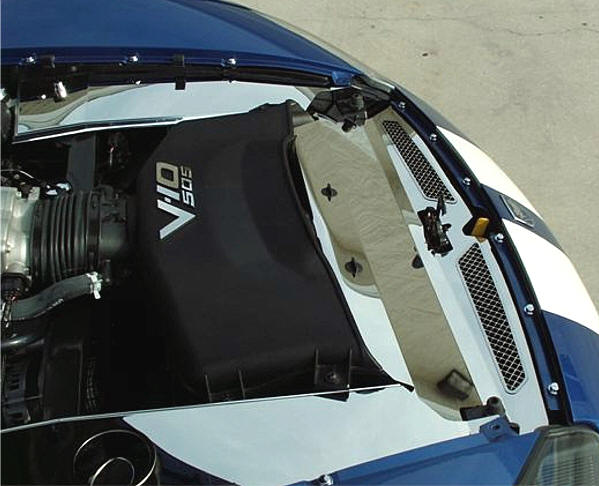
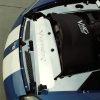
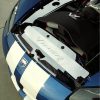
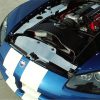
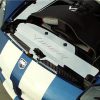
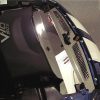
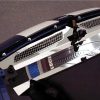
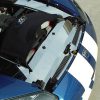
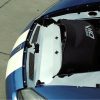
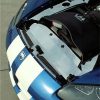
The ultimate show car piece! As soon as you open the hood, this polished header plate immediately catches attention. Precision laser-cut for flawless craftsmanship, it installs easily using factory nuts and professional-grade automotive tape.
This piece truly highlights your powerful 505 HP engine.
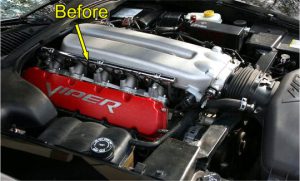
Note: Will not fit with “Typhoon” Air Box Intake Kit.
DODGE VIPER SRT-10 Header Plate
PART # ACC-973008
INSTALLATION INSTRUCTIONS
NOTE: Your new covers come with a clear protective liner. Do not remove this liner until installation is complete.
PARTS INCLUDED:
- 1 – Stainless Header Plate
- 4 – 2” Furry Disks
- 2 – Smaller Disk Sets
Your new cover comes with a protective liner. Remove the liner only when prompted by the instructions.
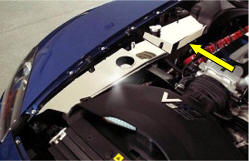
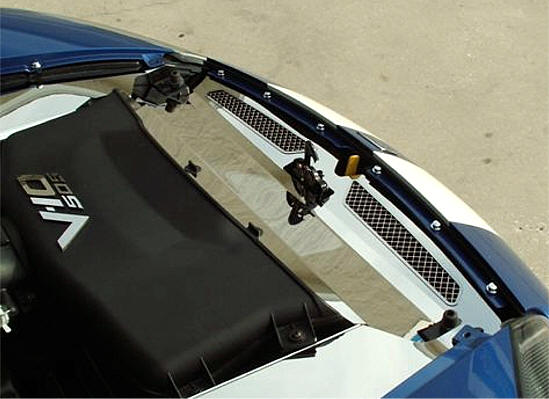
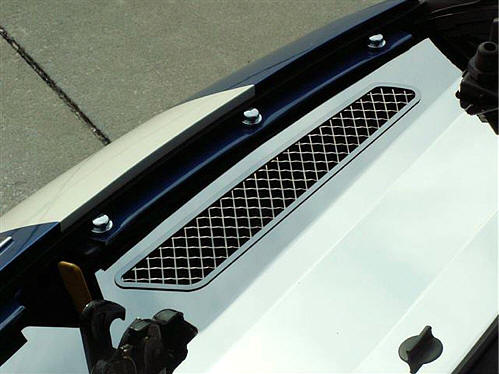
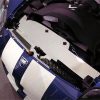
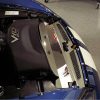
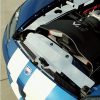
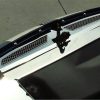
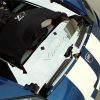
This unique accessory adds a refined, custom look to your Viper’s engine bay by transforming the large void in front of the radiator into a stylish, grilled accent area.
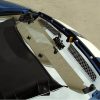
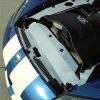
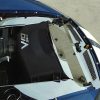
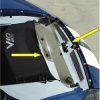
- Prepare the Area: Remove the black plastic seal from the top of the radiator by pulling up on one end to unsnap it. This flexible rubber gasket will not be reused.
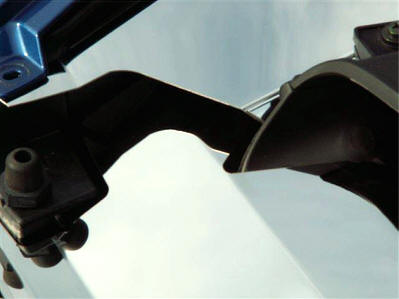
- Remove Thumb Screws: Take out the two black plastic thumb screws from the air filter snorkel in front of the filter housing.
- Check Clearance: Some vehicles may have a small black plastic rectangular tab on the driver’s side of the radiator. If present, snip it off using wire cutters for proper clearance.
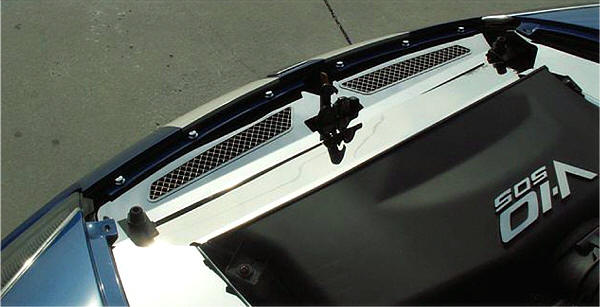
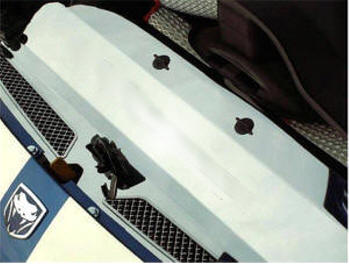
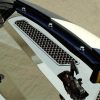
- Install Furry Disks: Apply the four 2” furry disks under the hood vent openings at the outer ends to protect both the hood and the header plate. Use the two smaller disk sets on the header plate just in front of the snorkel notches after installation.
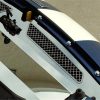
- Install the Header Plate: Place masking tape along the edge of the car’s nose flange to protect the paint. Set the two large tabs of the header plate into the air filter snorkel while maneuvering the front section over the hood latch. Carefully slide the plate past the nose flange to avoid scratches. Once aligned, secure it with the two plastic thumb screws — snug, not overtightened. Check for flush fitting and make any minor adjustments by hand if necessary.
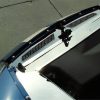
- Remove Protective Liner: After proper fitting, remove the protective liner from the face of the plate. Loosen the thumb screws slightly to release the liner at those points, then re-tighten them.
- Apply Small Furry Disks: Remove the liner from both halves of each Velcro disk. Attach the hook side to the hood near the corners of the vent openings. Lower the hood gently to let the disks attach to the header plate. Open the hood and press the furry side firmly on the plate, then remove the hook side from the hood.
If any questions arise during installation, please contact American Car Craft at 727-861-1500.
Care Instructions:
Always use a clean, soft cloth to dust the cover before wiping. Then, clean with a quality streak-free glass cleaner using a new soft cloth to avoid scratches.
See enclosed care sheet for more details.