


Description
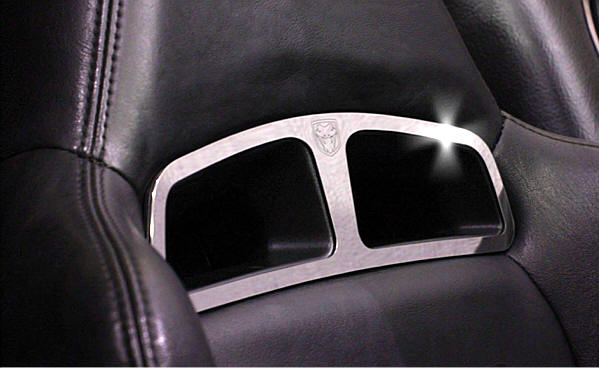
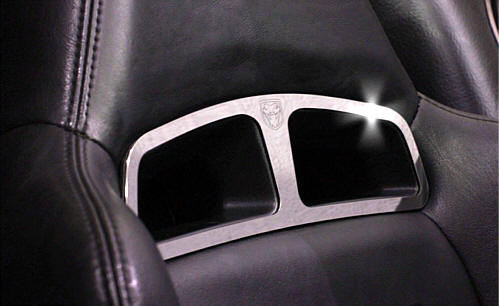
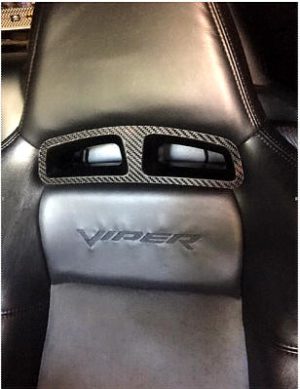
Mirror Polished Stainless Steel Top Seat Trim Caps
Mirror-polished stainless steel top seat trim caps add a professional finish to your SRT10. Includes an etched Viper Head “Fangs” logo. Easy installation for a great look.
Installation Instructions
Parts Included: 2 Seat Sport Trims, 1 Tape Test Strip Kit, and 1 Adhesive Promoter Packet.
Your kit may come with a clear protective liner. If so, do not remove it until instructed to do so.
Very Important – Please read all instructions before beginning installation! You must follow these directions carefully, or your new parts may not adhere properly. Once the back red liner is removed or the trim surface is scratched, the parts are non-returnable.
1. Before you begin, prepare the surface to ensure proper adhesion. Clean the entire area thoroughly using household Isopropyl Alcohol (rubbing alcohol), available at most grocery or hardware stores. Scrub the area vigorously to remove all traces of oil or residue.
2. Once the surface is clean, take the included test strip tape and remove a small portion of the red backing liner. Stick the test strip to the area where the trim will be mounted. Test several spots. If the tape feels tacky and sticks well, proceed to the next step. If not, re-clean the area until the test strip adheres properly in all tested areas.
- Take your trim piece and, without removing the red backing liner, hold it in place where it will be mounted. Check how it fits. If the piece does not fit properly, stop and contact us. Once familiar with the placement, peel off the clear plastic top liner (if included).
- Open the adhesive promoter pen or packet and apply the clear liquid to the area where you’ll mount the trim. This will not harm your car’s surface and helps improve adhesion. Let it dry for 2–3 minutes.
- Remove the red backing liner and hold the trim slightly above the surface. Do not touch it down yet. Carefully position it, then gently set it in place. Make any small final adjustments as needed. Repeat steps 1–5 for the other trim piece.
- Press firmly along the entire trim surface, starting from the center and working outward. Keep the trim clean using a mild glass cleaner.


Reviews
There are no reviews yet.