


Description
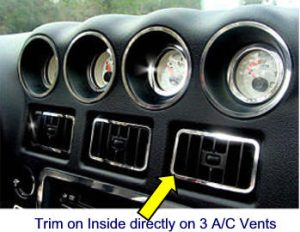
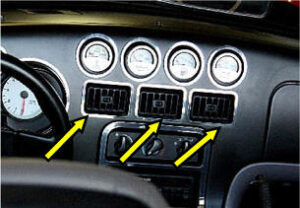
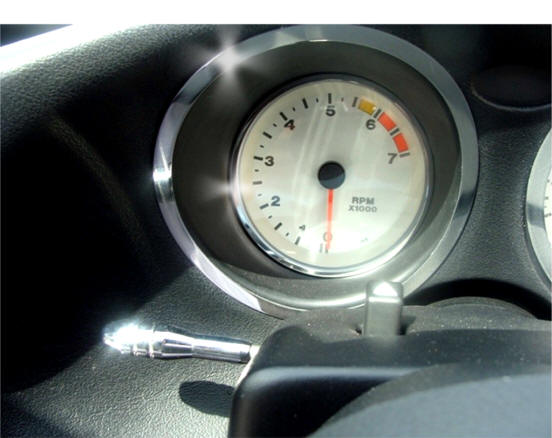
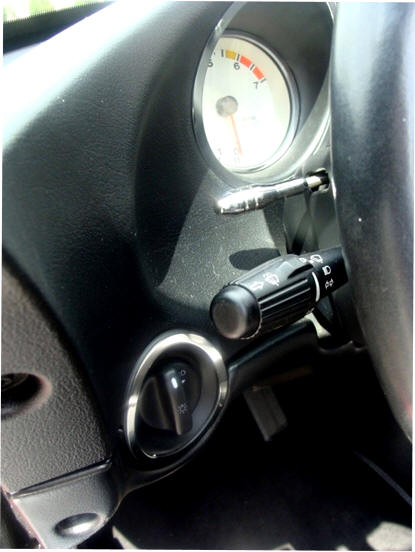
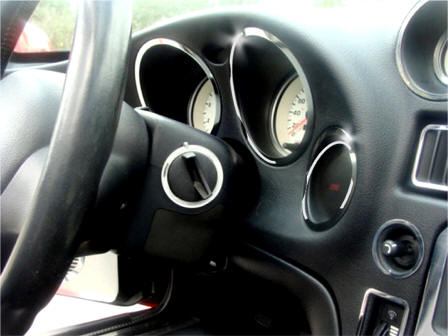
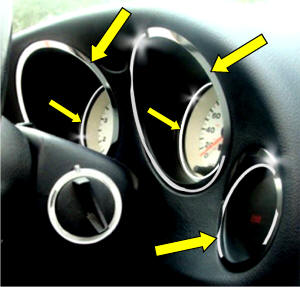
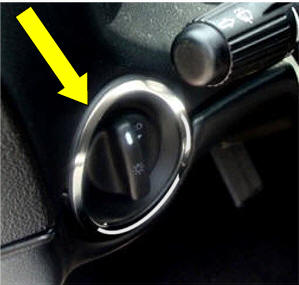
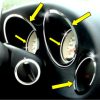
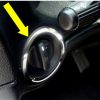
Mirror-polished stainless steel gauge trim rings for the driver’s side instrument panel. Includes inner and outer trims for the speedometer and tachometer, plus single trim rings for the engine trouble light and headlight control gauges. Total of six pieces.
Transform your interior into a show car look! This kit makes a noticeable difference. Made of pure, bright, heavy-gauge stainless steel with a high-polished finish. It will not rust, corrode, or lose its luster.
Everything you need is included. Easy to install — simply peel and stick.
IMPORTANT! — READ THIS BEFORE YOU INSTALL YOUR TRIM PART(S)
SPECIAL PREPARATION INSTRUCTIONS for Mounting ALL Interior Trim Parts
In many cases, interior panels and surfaces become saturated with silicone-based chemicals such as Armor-All or similar residues. Although these make surfaces look nice, they embed into the ABS plastic of door panels or dashboards. These treatments must be removed before applying your trim for proper adhesion.
This removal process can take some effort. The best way to remove these treatments is to apply several different solvents to break down the silicone chemicals.
NOTE: Apply this cleaning process only to the surface areas where you will be attaching your new trim parts.
- Scrub the area where the interior trim piece will be applied using household isopropyl alcohol (available at grocery or hardware stores).
- Scrub the application area with the small abrasive pad provided. Remove all residues by scrubbing again with rubbing alcohol and wiping immediately with a clean paper towel. Only clean the area that will receive your new accessory.
After this process, the surface should appear dry and ashy.NOTE: If the ashy look appears on areas that won’t be covered by your accessory, apply Armor-All after installation to restore appearance.
NOTE: You may need to repeat this cleaning process several times, depending on the surface condition. - Test adhesion before installing the trim. Use the small piece of 3M automotive attachment tape (included) as a test strip. Peel back the red liner and apply the tape to the area where you plan to mount the trim. If the tape sticks firmly, proceed to the next step. If not, repeat the cleaning process until it does.
- Once the area is clean, apply a single thin swipe of the adhesive promoter (provided) in either a wipe or sponge-tip pen format. This clear, odorless liquid will enhance adhesion for a permanent installation. Allow 2 minutes to dry.
- Before removing any liners, hold the trim piece in place to check the fit. Many pieces may need to be slightly hand-bent to match the interior contours. Adjust until the piece fits perfectly.
- Peel off the red liner from the back of the trim and carefully position it over the mounting area. Slowly set it into place, making any final adjustments. Once aligned perfectly, press down along the surface to ensure a tight bond.
- Finally, peel off the clear protective liner from the front of the trim.