


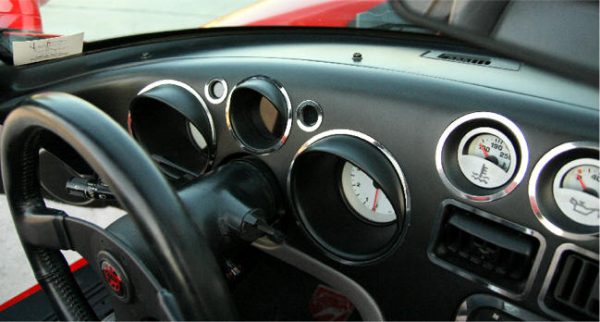
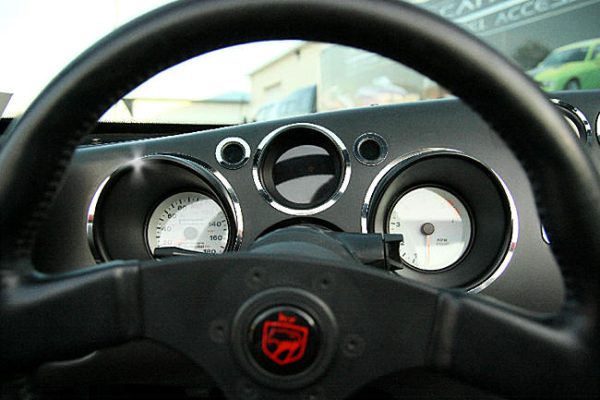


Description
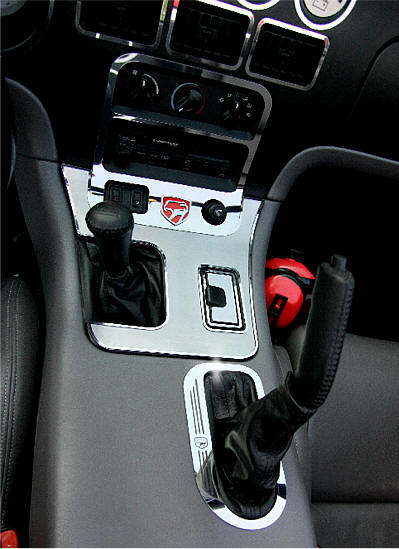
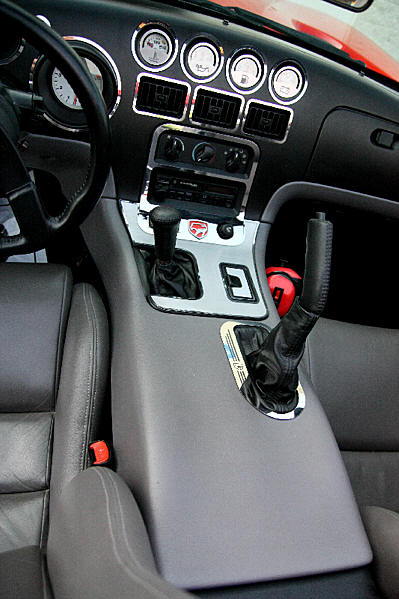
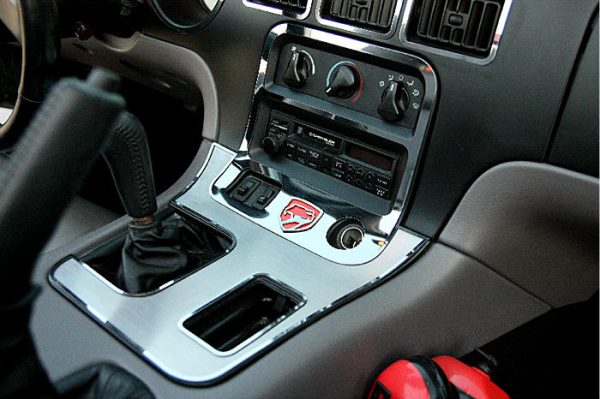
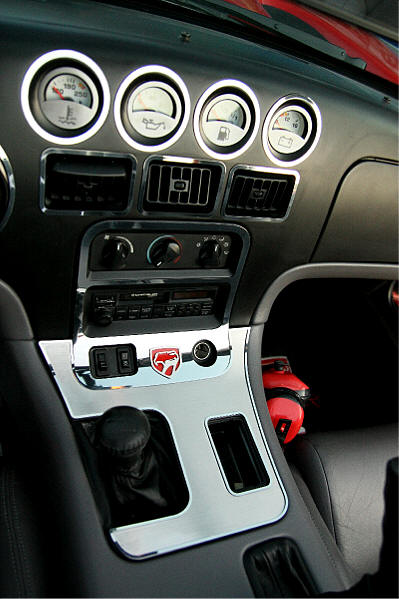
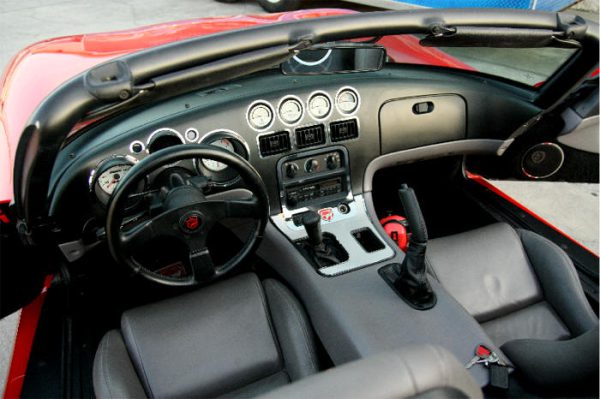
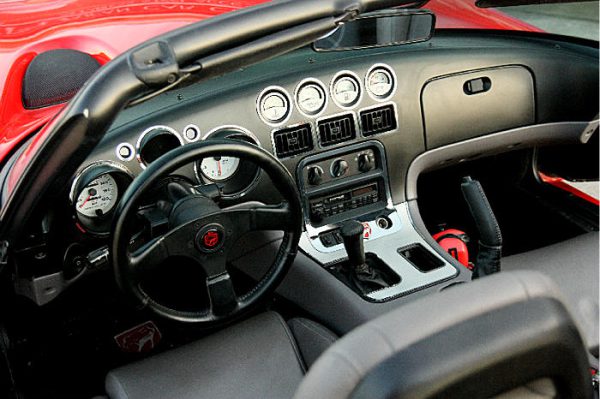
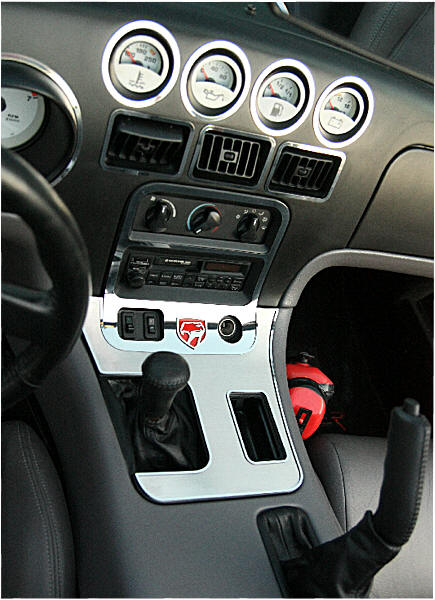
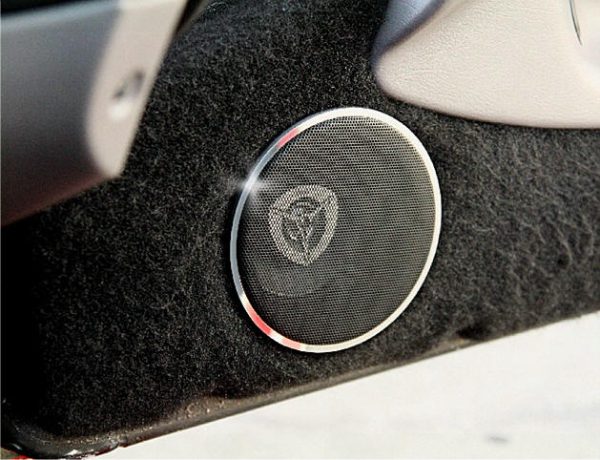
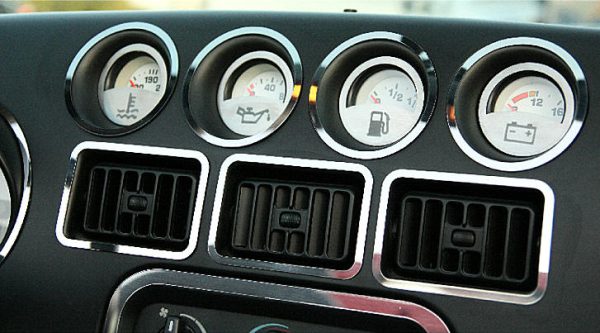
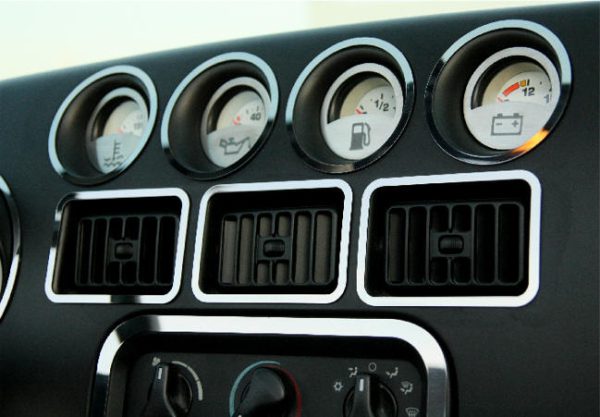
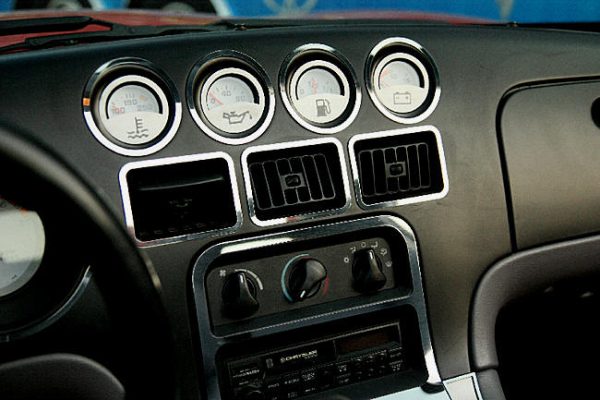
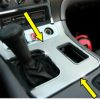
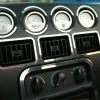
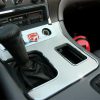
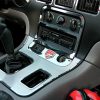
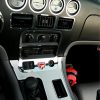
Brushed & Polished
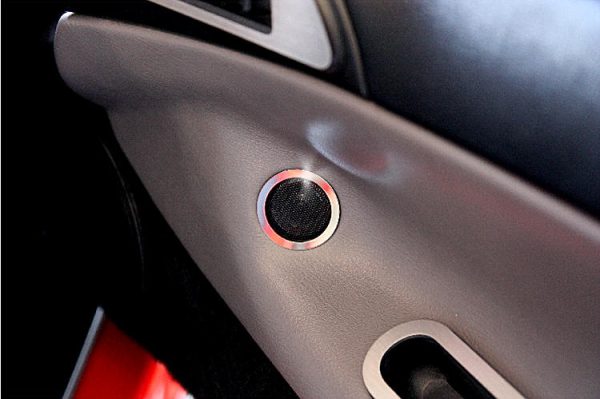
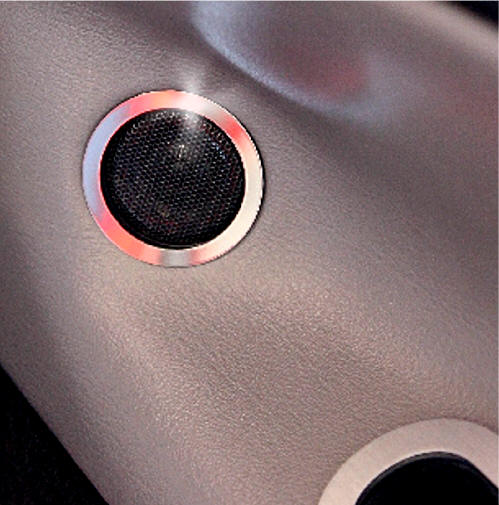
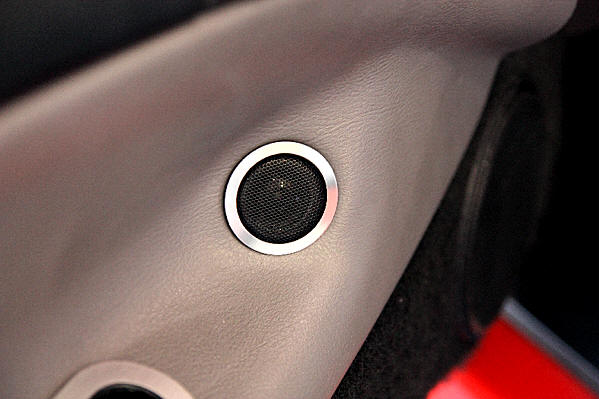
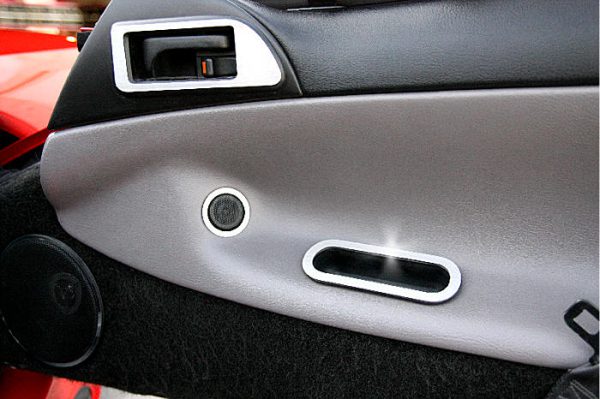
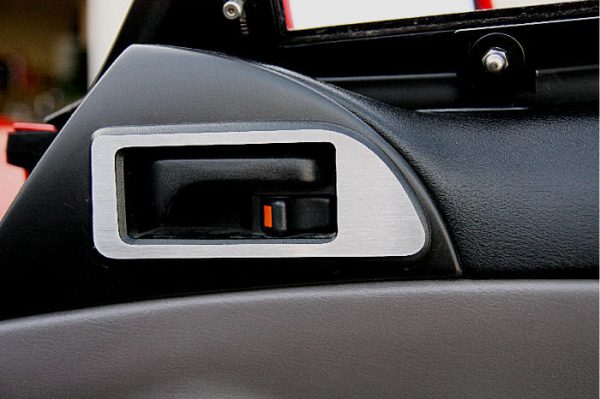
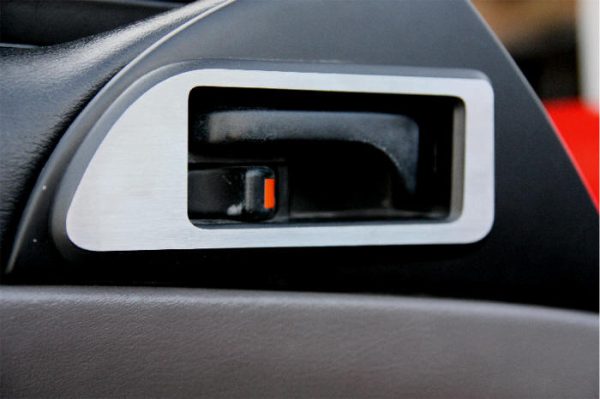
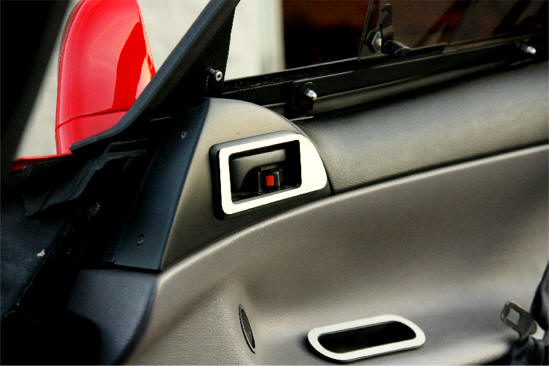
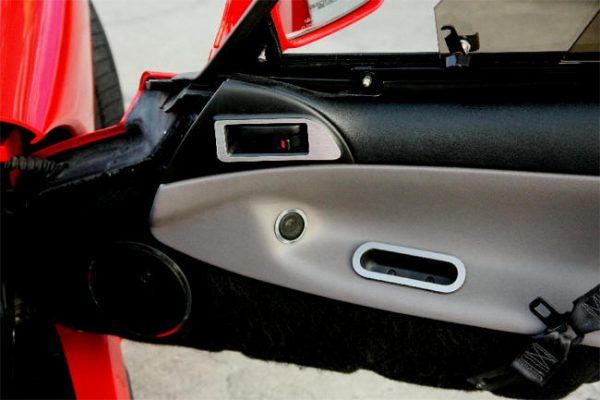
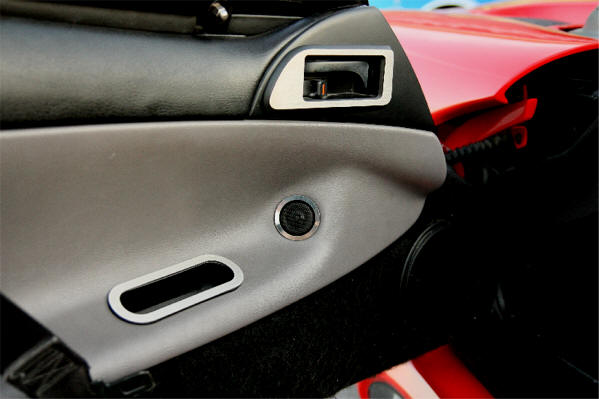
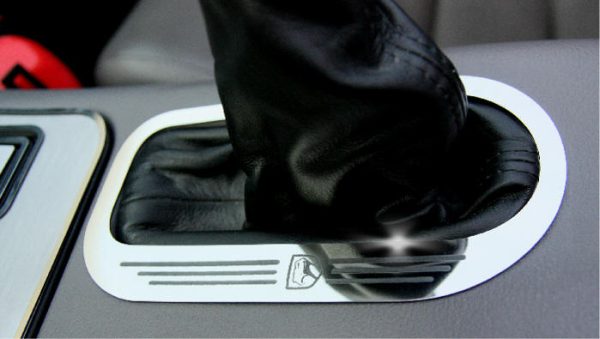
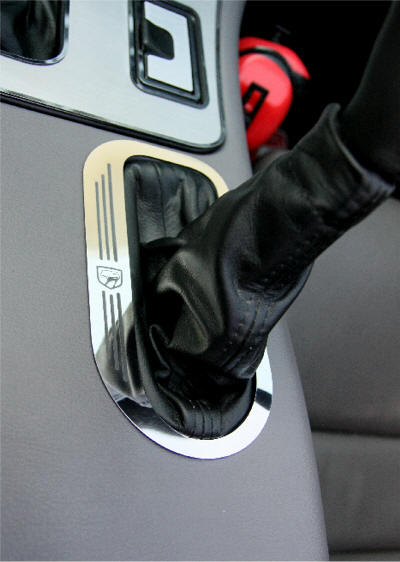
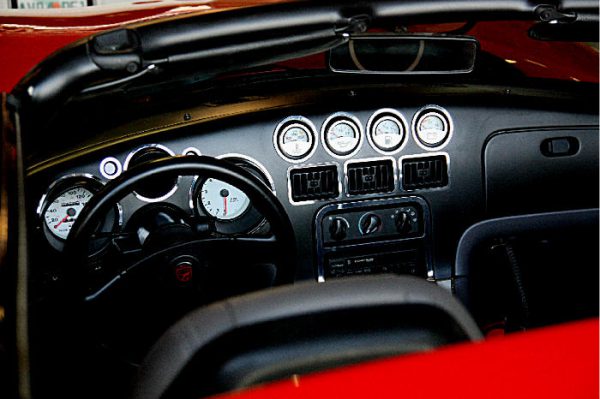
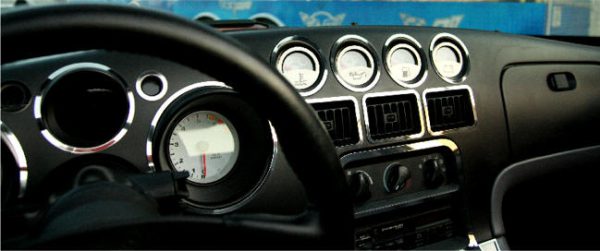
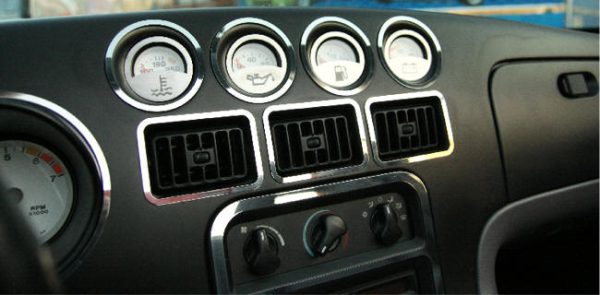
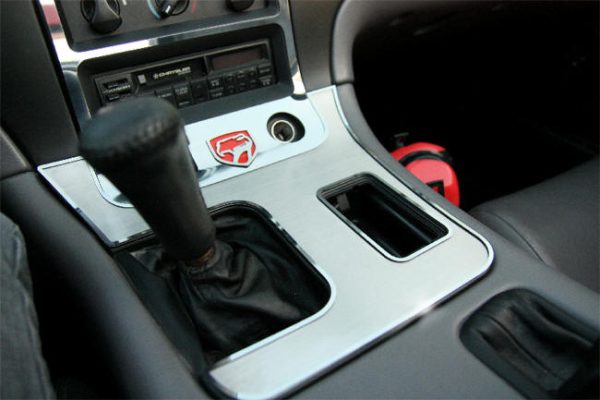
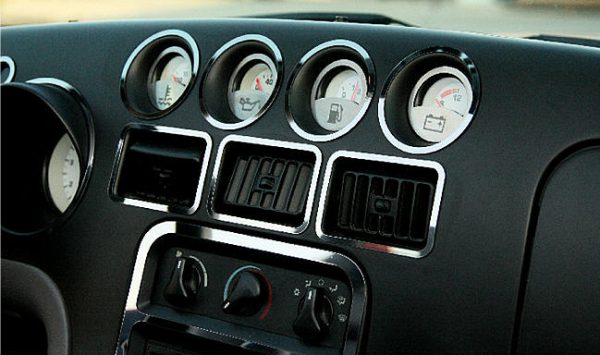
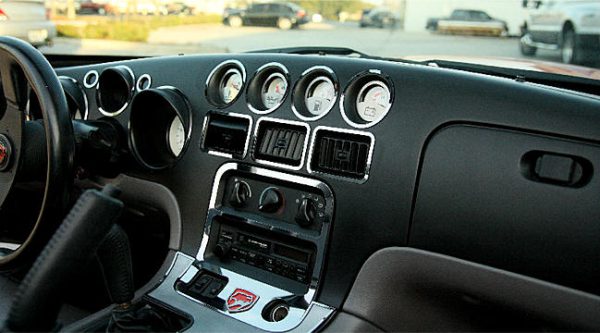
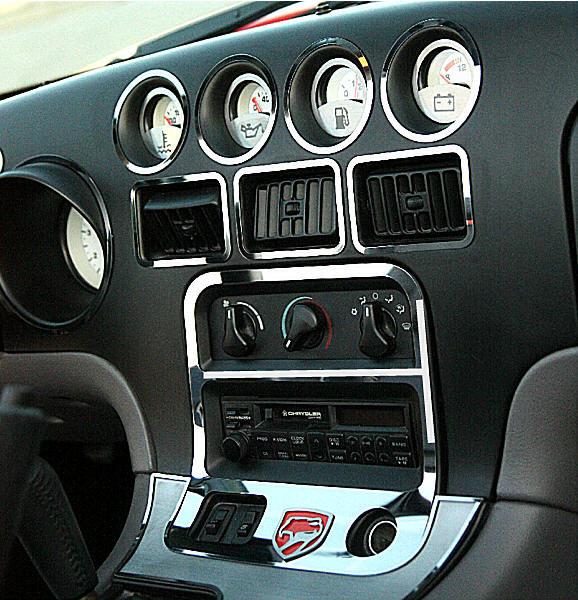
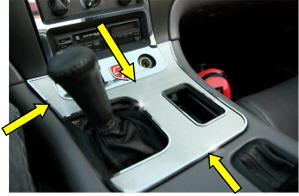
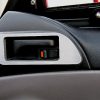
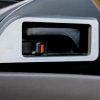
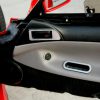
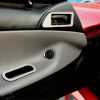
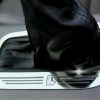
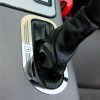
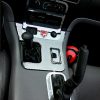
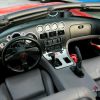
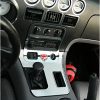
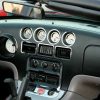
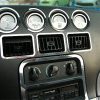
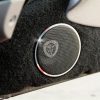
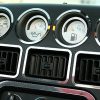
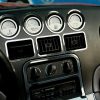
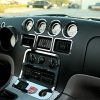
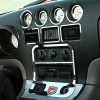
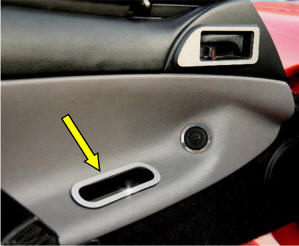
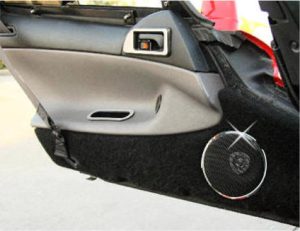
Stainless steel shift surround bezel with a brushed finish and polished outer trim. Includes ashtray cover (see picture). Easy peel-and-stick mounting. It may be removed without harming your interior (however, it cannot be remounted). A beautiful, bright addition to the dark stock Viper interior.
GENERAL TRIM PART INSTALLATION INSTRUCTIONS
Introduction: In the next few paragraphs, we will explain what you need to know for a successful application of your Stainless Steel Trim Accessories. Almost all stainless steel peel-and-stick trim accessories need to be pre-shaped by hand to ensure a long-term installation. While each part may differ slightly, the installation process follows the same general instructions.
Top Liner Info: Your new accessories come with a protective clear or bluish surface liner. Keep this liner in place until installation is complete to prevent fingerprints or scratches. Only remove it when instructed.
- The first step in any peel-and-stick application is surface preparation. Examine the surface for any special treatments, such as wax, silicone, or polymer surface preps. Press a strip of masking tape firmly onto the surface and peel it off. If it comes off too easily or doesn’t stick, perform a special surface preparation. Typically, mix a 32-oz bottle of water with about five tablespoons of Johnson’s Baby Shampoo or Palmolive Dish Soap. Wash the surface vigorously with this solution to remove contaminants.
Once this is done, proceed with regular preparation: scrub the surface with alcohol and wipe dry. Test the surface again with masking tape. If it adheres, the surface is ready. If not, repeat the washing until a good tack is achieved. Finally, swipe the entire surface with the adhesive promoter included in your stainless steel kit. This is not a cleaner but an adhesive accelerator that ensures a reliable bond on a clean surface.
- After preparation, apply the accessory. Pre-shape the stainless part by hand so it conforms perfectly to the surface. Adjust it little by little until it matches the surface without needing pressure. This ensures a perfect fit before peeling and sticking. Taking your time here prevents the part from popping off later.
- Once the surface is prepared and the part shaped, peel the red release liner from the back. The adhesive is strong and cannot be repositioned once it touches the surface. Align all holes and perimeters, press firmly along the surface to bond, and then remove the protective liner. The bond becomes permanent after 24 hours.


Reviews
There are no reviews yet.