


Description
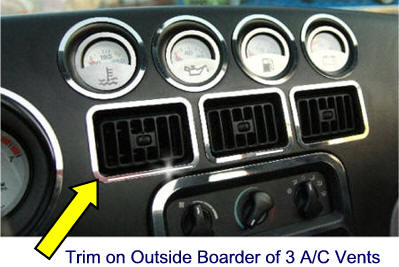
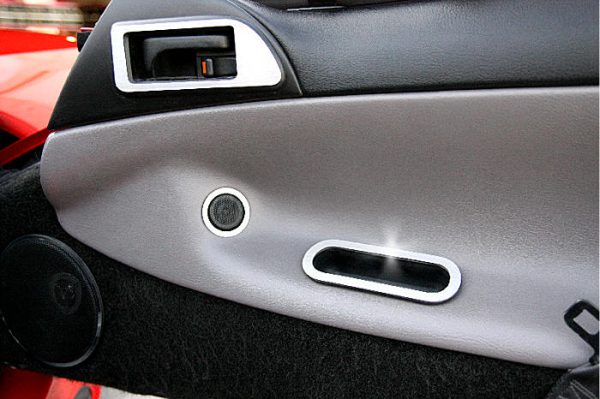
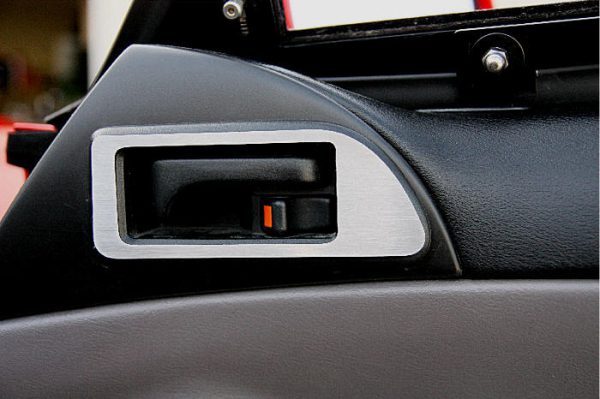
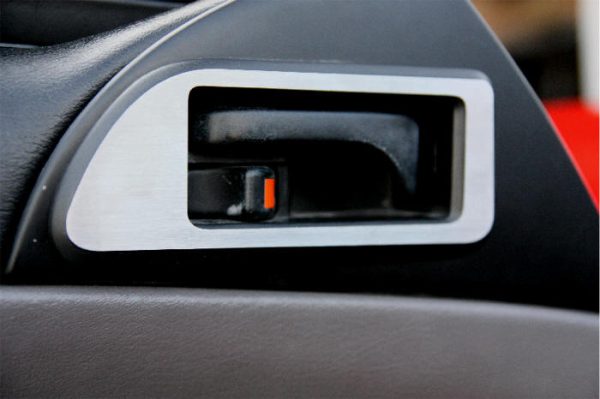
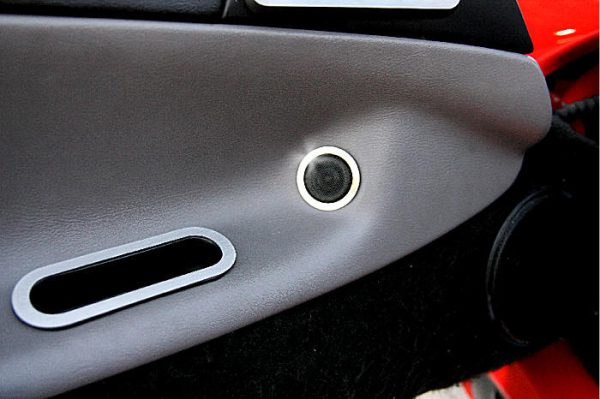
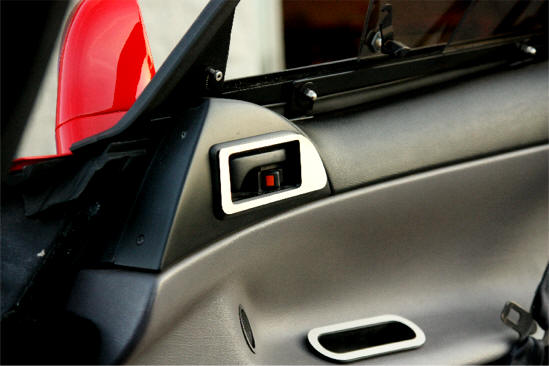
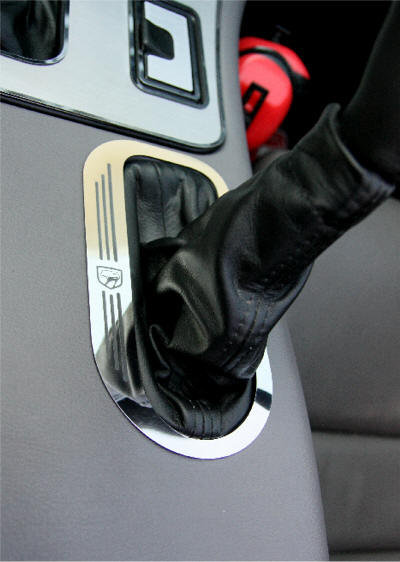
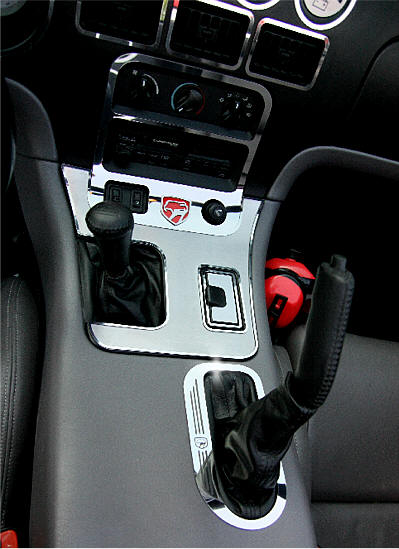
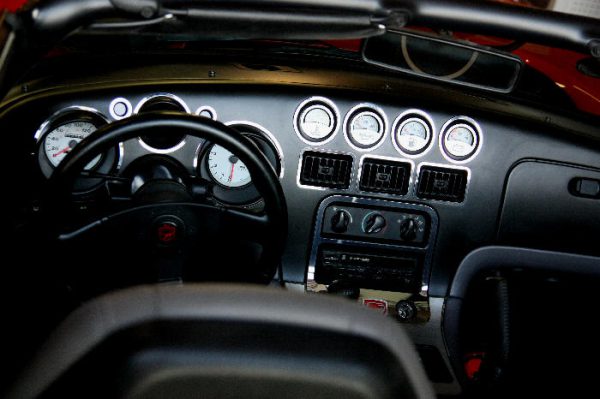
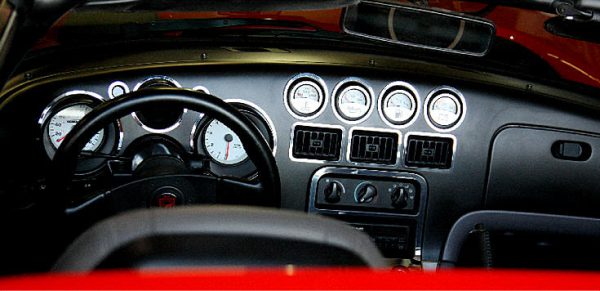
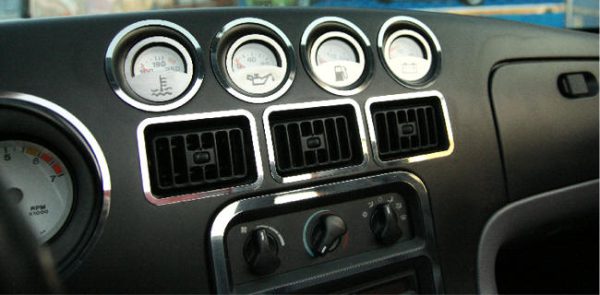
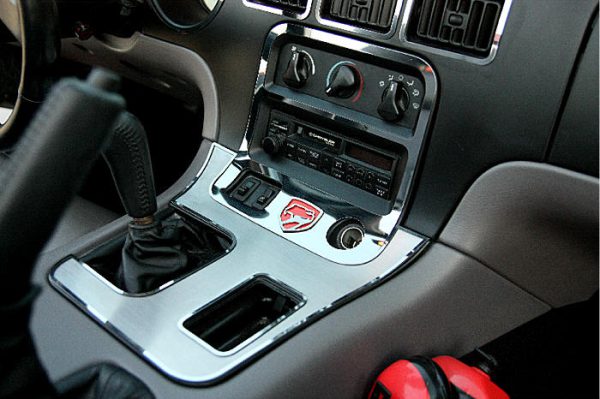
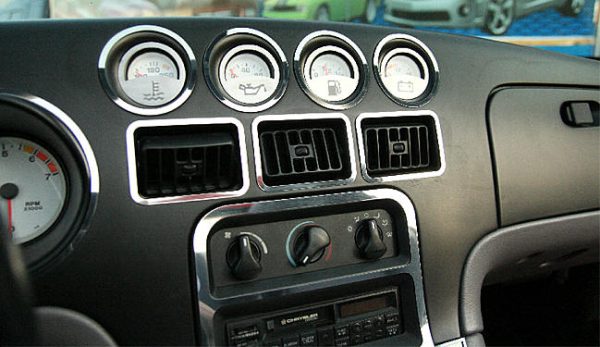
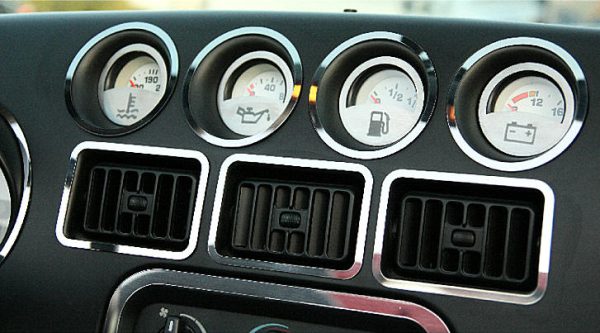
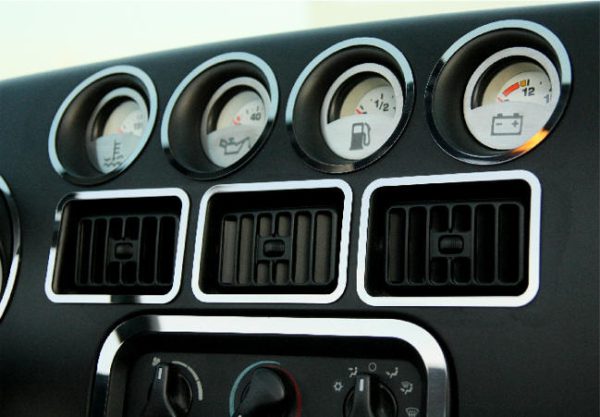
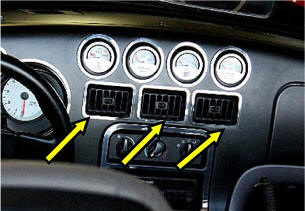
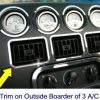
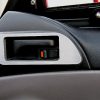
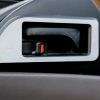
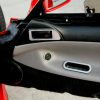
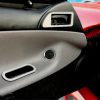
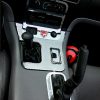
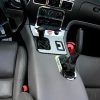
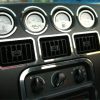
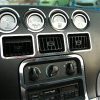
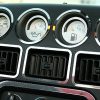
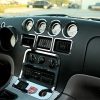
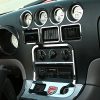
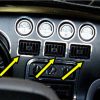
Mount on the Outside Edge.
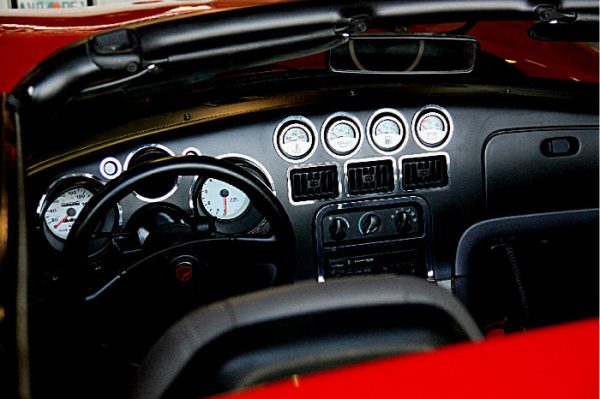
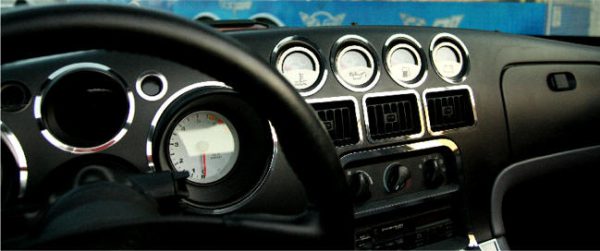
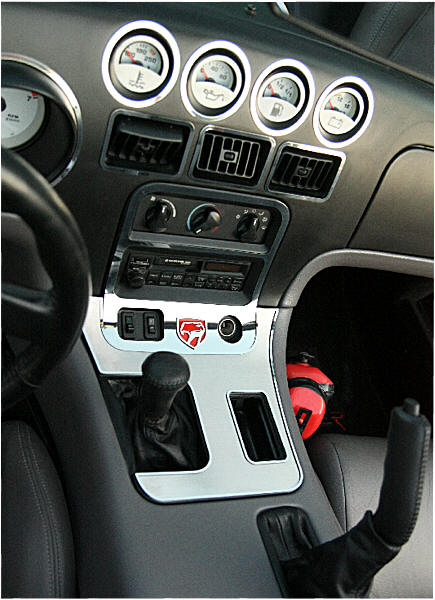
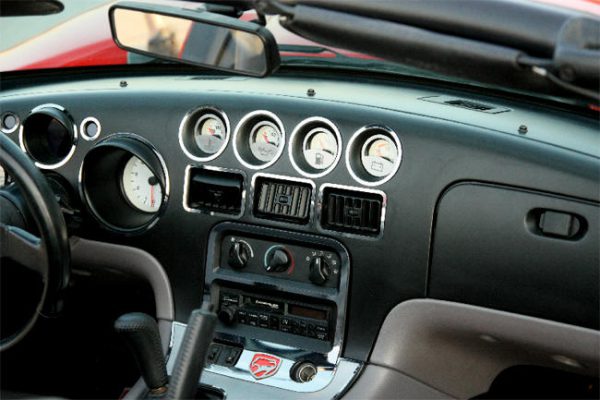
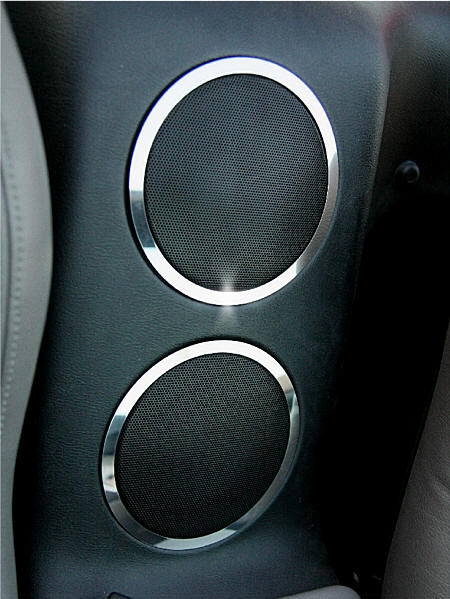
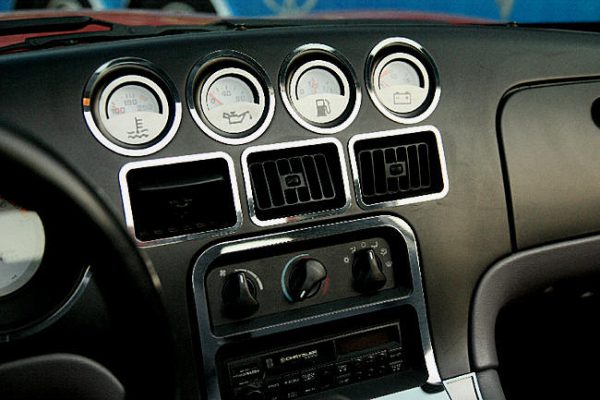
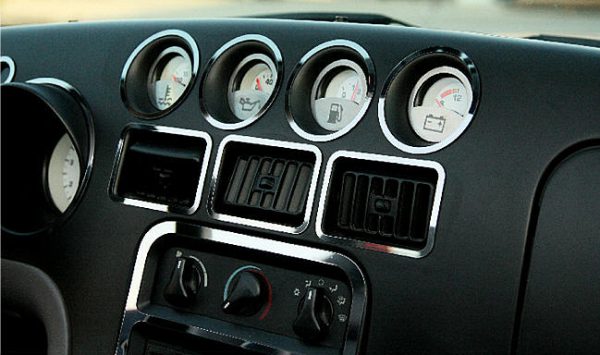
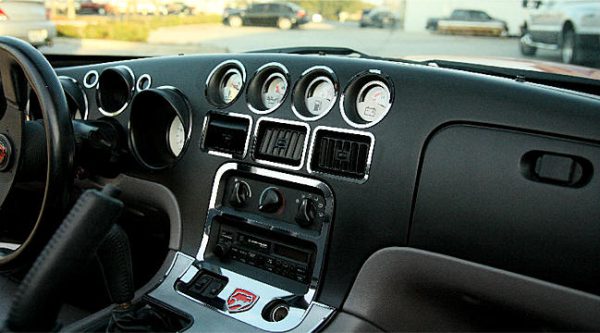
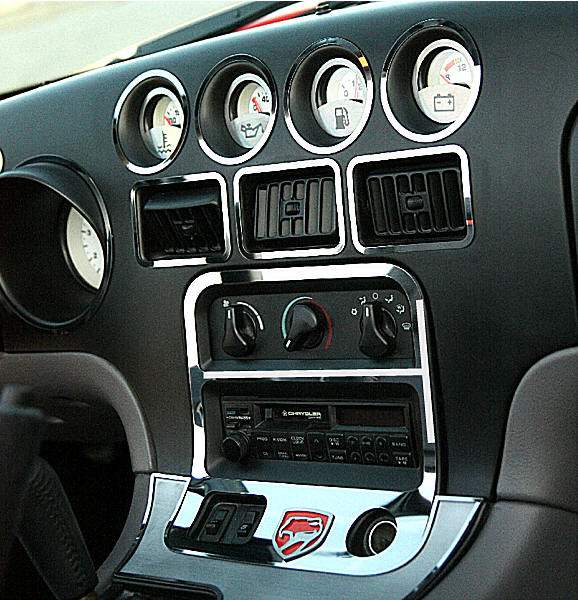
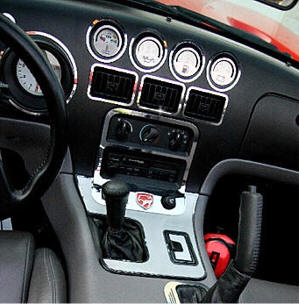
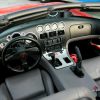
Mounts on the outside edge of each vent. Stainless steel air conditioner vent surround bezels with a high-polished finish. Easy to mount — just peel and stick. Can be removed without harming your interior (however, they cannot be remounted). A beautiful, bright addition to the dark stock Viper interior.
GENERAL TRIM PART INSTALLATION INSTRUCTIONS
Introduction: In the following instructions, you’ll learn what is needed for a successful installation of your stainless steel trim accessories. Almost all stainless steel peel-and-stick trim accessories require slight hand shaping to ensure a long-lasting fit. While each part is unique, the general installation steps are the same for all.
Top Liner Info: Your new accessories are shipped with a protective clear or bluish surface liner. Leave this liner in place until installation is complete to prevent fingerprints or scratches. Only remove it when instructed to do so.
- The first step in any peel-and-stick installation is proper surface preparation. Check the surface for wax, silicone treatments, or polymer coatings.
Apply a strip of masking tape firmly to the surface, then peel it off. If it removes easily or doesn’t stick at all, special surface preparation is needed. Mix a 32-oz bottle of water with about five tablespoons of mild detergent (such as Johnson’s Baby Shampoo or Palmolive Dish Soap). Wash the area thoroughly, scrubbing vigorously to remove contaminants.
After washing, proceed to the regular preparation by scrubbing the surface with rubbing alcohol and wiping it dry. Test adhesion again by applying masking tape — if it sticks, the surface is ready. If not, repeat cleaning until a good tack is achieved. Once the surface is properly prepared, apply a thin layer of adhesive promoter (included with stainless steel kits). The promoter is not a cleaner but an adhesive accelerator that ensures a reliable bond.
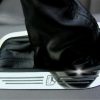
- Once preparation is complete, pre-shape the stainless steel part so it perfectly conforms to the surface. Gently shape it by hand, a little at a time, until it matches without force. When the part appears to fit naturally, it’s ready for mounting. Taking time at this stage ensures it won’t lift or pop off later.
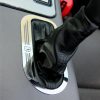
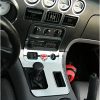
- When ready, peel the red release liner from the back of the part. The adhesive is very aggressive and won’t allow repositioning once it contacts the surface. Align holes and edges carefully, then press the part firmly along the entire surface to secure it. Remove the protective top liner afterward. The bond becomes permanent after 24 hours.


Reviews
There are no reviews yet.