


Description
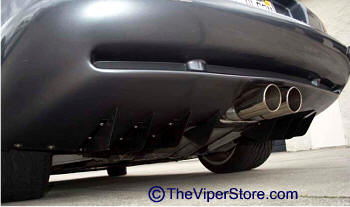
The stainless steel rear diffuser kit includes eight fins (four for the right side and four for the left side) powder-coated in textured black. It bolts to existing bolt holes, with one additional hole required per fin. All bolts and hardware are included. The kit comes with eight fins—use six or eight, depending on your vehicle’s year group.
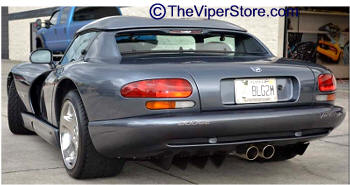
Note: For rear-exit exhaust systems, such as the RT/10, use the eight-piece diffuser set. For side-exit exhausts, like the Gen 1 or GTS models, use only the outer six fins and omit the smaller inner fins.
Note: This new powder-coated stainless steel air foil kit is designed to fit the factory bolt locations of the Gen 1 Convertible Viper only. However, it may also fit other Vipers as a universal application.
Installation Instructions:
- Remove all of the factory bolts under the car. These will be replaced with stainless bolts.
- Once all of the factory bolts are removed, begin on either side by placing the first foil. Placement of the first foil is important because it determines the position of all remaining foils. Place the foil along the frame rail running alongside the exhaust port, with the bent tab facing outward. Align the holes in the tab with the factory holes.
- Loosely insert the large slotted-head stainless steel bolts into the factory clip nuts, but do not tighten yet.
- Using a yardstick or straight edge, align the foil along the car’s frame so it sits straight. Snug it into place using a large flat-blade screwdriver, but do not tighten yet.
- Set the next two foils in place at the next two factory clip nut bolt holes—front bolts only. Make them snug, but do not tighten.
- Arrange each foil approximately 4½ inches apart using a ruler. Adjust using the horizontal slotted hole in each tab. Ensure the first foil remains straight, then gently tap all foils into position. Once aligned, tighten the first foil, then the front bolts of the next two foils. Double-check alignment and adjust if needed.
- Mark the remaining holes on the two foils onto the car’s body using a permanent marker, marking the center points.
- Slide the foils over to expose the marked points. Drill all four locations using a ½-inch step drill bit. A step drill is the easiest and most accurate tool for this task (not included).
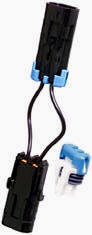
- Insert the four ¼-20 rubber well nuts provided into the new holes until seated. Slide the foils back into position, remeasure for accuracy, and tighten all bolts firmly.
- Two extra stainless bolts and washers are provided for the remaining factory bolt locations to match the new hardware.
- Remove the factory rivet next to the exhaust tip to install the final foil for that side. Drill out the rivet using the step drill bit. If the rivet spins, tilt the bit slightly to cut the head loose, then drill out the shaft to create a ¼-inch hole.
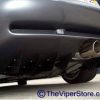
- Install the smaller remaining foil, positioning the mounting clamp toward the exhaust tip (not outward like the other foils).
- Slide the provided ¼-20 clip nut over the top hole in the small foil until it snaps into place. Align the upper clip with the lower slot by inserting and adjusting the stainless bolt. Use needle-nose pliers if needed.
- Remove the bolt, slide the foil over the exhaust opening, and align it with the rivet hole. Loosely insert the bolt into the clip. Measure the small fin to ensure it’s 4½ inches and parallel to the first foil. Because these Vipers were hand-built, rivet holes may vary slightly (±⅛ inch). If needed, elongate the factory rivet hole for proper spacing.
- Once satisfied with placement, firmly tighten the bolt to finish installation for that side. Repeat the procedure for the opposite side.


Reviews
There are no reviews yet.