


Description
HIGHEST QUALITY Door sills you can buy!
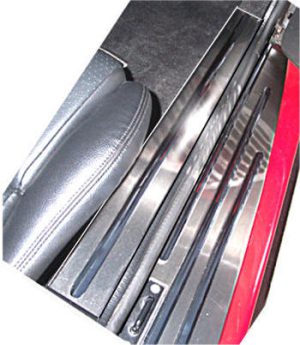
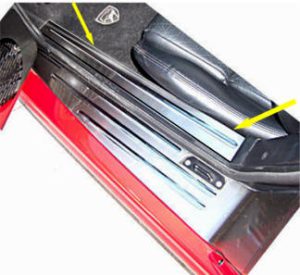
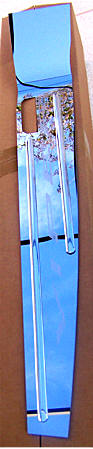
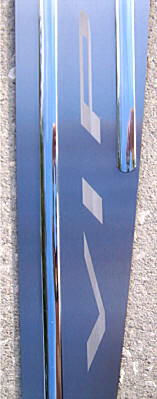
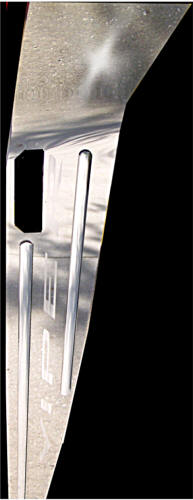
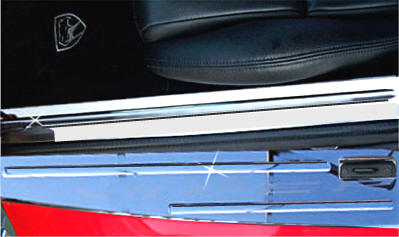
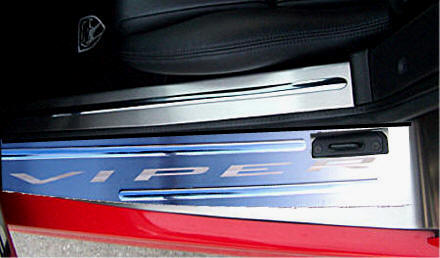
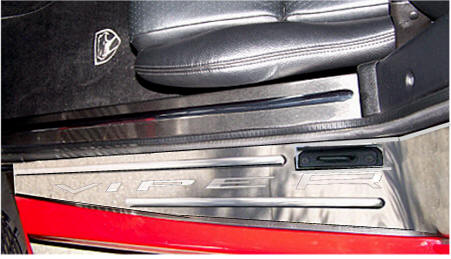
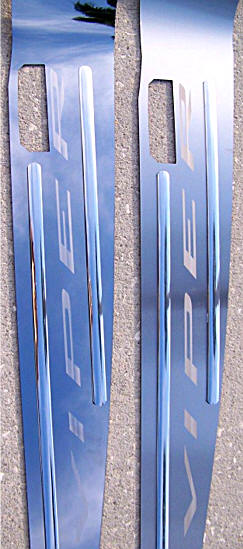
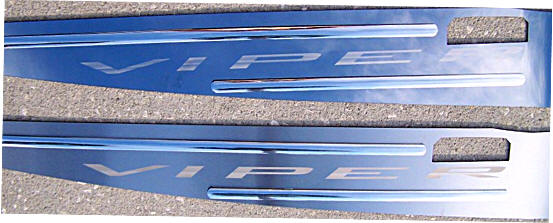
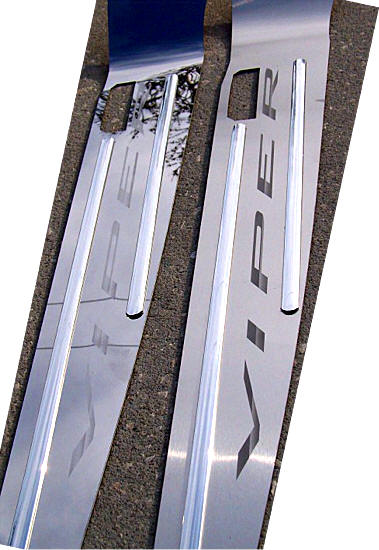
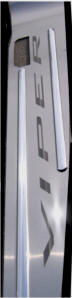
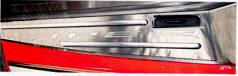
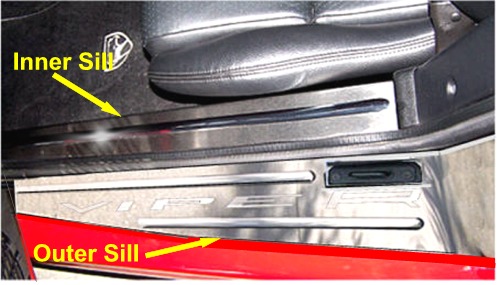
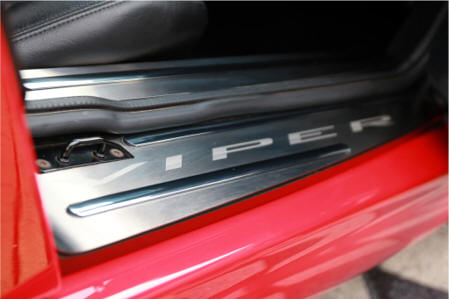
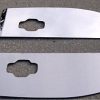
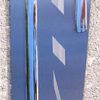
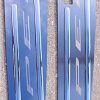
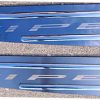
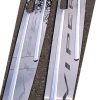
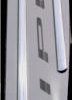
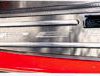
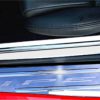
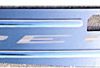
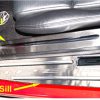
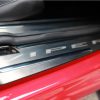
Brushed Finish Stainless Steel Door Outer Sills.
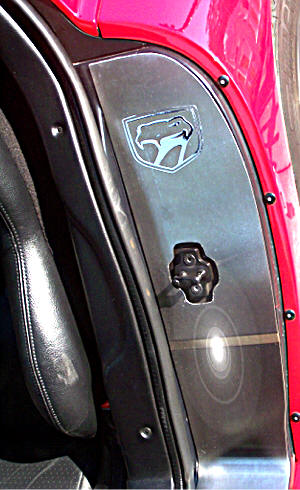
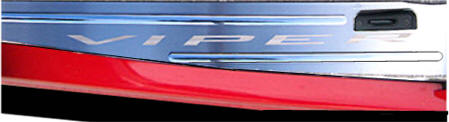
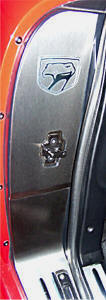
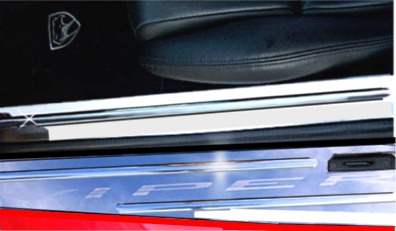
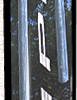
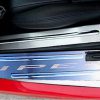
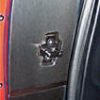
Beautifully etch “Viper” with the Viper head logo on each sill.
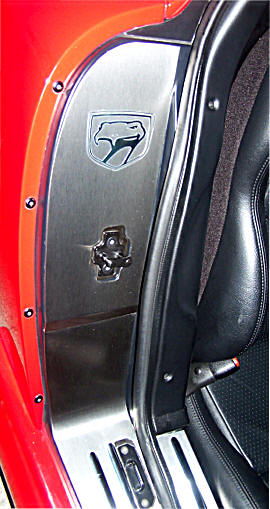
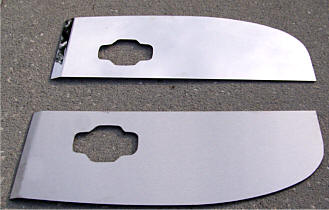
The product contains a complete set for the Driver and Passenger side door sills. These sills run the entire length of the bottom door sill – all the way up the side to the window.
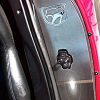
Viper Logo chrome sticker included for each door. Permanent automotive tape on the back makes a lasting seal.
No tools required. Permanent fit.
It will not rust or corrode or ever lose its luster.
When installed properly will stay put and will not come off due to heat, cold, or vibration.
INSTALLATION INSTRUCTIONS
Items Included: 2 x Doorsills; 2 x Viper Logo Stickers; 2 x Adhesive Promoter
Note: Your new sills come to you with a protective liner.
Do not remove the liner until step 3.
1. Clean the sill area first with soap and water to remove any dirt. Then clean the sill area with household rubbing alcohol. Let dry.
2. Then wipe the area once with the adhesive promoter (provided). Be careful to only apply the promoter to the exact area where you are going to stick the door sills. The promoter could damage your paint.
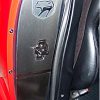
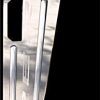
3. Position the large part of the sill into position and line it up with the door catch hole. Make note of its position. Although your new shirt comes to you preformed, it will be necessary to adjust the form slightly by hand to achieve a nice, snug fit without forcing.
4. It is a good idea to make several dry runs at positioning the sill before you take the red liner off the back. The attachment tape is very aggressive and will only allow you ONE SHOT AT A FINAL POSITION.
Once you are satisfied with the fit, remove the red liner from the back of the new sill and very carefully position the sill. Set the sill down lightly on the car sill and make any minor final adjustments. Once you are satisfied, press down firmly along the entire sill.
5. Once you have successfully installed the large section, install the smaller section in the same manner. Be sure to line up the two pieces so that there is no gap between them. Remove protective liner. Repeat steps 1-3 for the opposite side.
Note: Once mounted, the door sills can not be removed without destroying them.
Note: Care must be taken when cleaning your door sills. It is a good idea to lightly dust your sills with a clean soft cloth first in order to prevent any particles from scratching them. Then wipe (using a new, clean soft cloth) with a good quality streak-free glass cleaner.