
Description
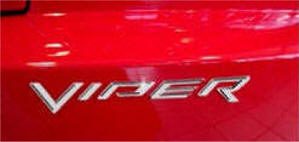
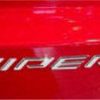
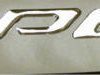
There is no background — the set of letters peels off and sticks directly onto your car’s body. The raised three-dimensional word “VIPER” measures 9″ x 1 3/4″.
What a difference this will make on your Viper! It will not fade, rust, or lose its luster.
Made with a chrome vinyl base and a clear polyurethane raised 3D layer on top of each letter, creating a deep, rich chrome sparkle finish.
Includes one (1) emblem
Applying your new logo(s):
- First, wash the area where the current logos will be replaced with soap and water. Let it dry for a few minutes.
- IMPORTANT: Next, scrub the area thoroughly with rubbing alcohol to remove any invisible oils.
- Open the packet or small pen of “promoter” provided. Apply the clear, moist promoter to the exact area where you will mount your emblem(s). The promoter will not damage your car’s paint, and any excess can be wiped away with rubbing alcohol. The foil packet has a moistened sponge inside. If you are using the pen applicator, bend the pen so the glass ampoule inside breaks. Then press the spongy tip against a clean piece of paper to get the liquid flowing before applying it to your surface.
- Use the pink scraper (included in your kit) to gently pry off and remove the existing emblem(s) from your car.
- Once the old emblem is removed, you may see slight residue outlines where each letter was. These will help guide the placement of your new logos.
- Hold the new emblem where you plan to mount it and decide the exact placement. Whoever installs the new logo should ensure it is straight (perpendicular to the ground).
- Use the provided test tape (or regular masking tape) and stick it to the cleaned surface in several spots. If it sticks well, proceed to the next step. If not, re-clean the surface until it does.
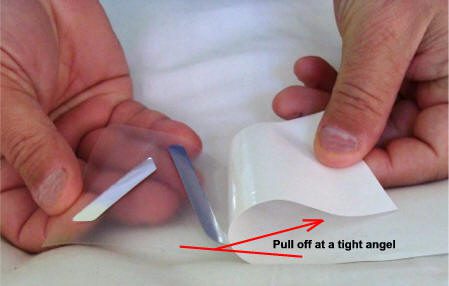
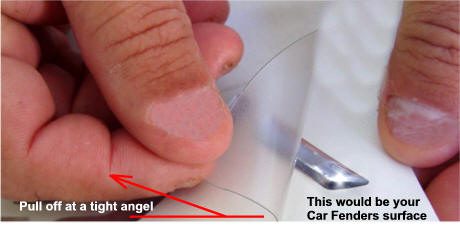
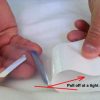
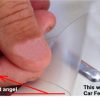
- Gently peel the white backing paper off one of your new emblems (Diagram A). The logo will remain attached to the clear top liner.
Hold the emblem where you want to mount it without touching the car at first, to get comfortable with the placement. Once you are sure, lightly touch the logo to the surface, make any final adjustments, and then press down on the entire logo firmly to ensure a tight bond.
Now, very gently remove the top clear liner (Diagram B).
Finally, wipe down the letters and the surrounding car surface. Any remaining residue from the original logos can be removed using rubbing alcohol.