Viper Performance Parts: Where to Start Upgrading
Part of our Viper Car Parts Buying Guide series.
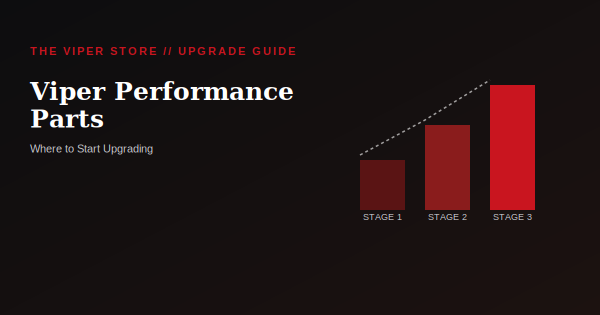
Once you’ve handled maintenance basics, performance parts are usually next on a Viper owner’s list. But not every upgrade belongs at the start — here’s a practical order of operations, so you’re not spending money on parts that outpace what the rest of the car can support.
Start With the Foundation, Not the Flashy Parts
It’s tempting to jump straight to an exhaust or intake for the sound and visual appeal, but the smartest starting point is confirming the car’s baseline is solid first — fresh fluids, healthy clutch, and suspension components in good condition. Performance parts amplify whatever condition the car is already in, for better or worse.
Stage 1: Bolt-On Fundamentals
The most accessible, lowest-risk upgrades — good starting points for anyone new to modifying their Viper.
- Cold air intake — improves airflow and gives a noticeably more aggressive intake sound.
- Cat-back exhaust — pairs well with an intake upgrade for a complete sound and airflow package.
- Lightweight wheels — reduces unsprung weight, improving both handling and acceleration.
Stage 2: Handling and Braking
Once airflow and weight are addressed, braking and suspension are the next logical step — especially if you’re planning any track use.
- Performance brake pads and rotors — meaningful upgrade for repeated hard stops without the fade factory pads can experience under track use.
- Coilovers or upgraded suspension — improves handling precision, particularly valuable on earlier generations without factory-tuned track packages.
- Sway bar upgrades — a comparatively affordable way to reduce body roll and sharpen turn-in.
Stage 3: Drivetrain and Power
The more involved (and expensive) stage — appropriate once the fundamentals and handling are already sorted.
- Engine tunes — often paired with intake/exhaust upgrades to fully realize their gains.
- Clutch upgrades — necessary if you’re significantly increasing power, since factory clutches have a torque ceiling.
- Differential and gearing changes — for track-focused builds looking to optimize acceleration for a specific circuit.
A Note on Sequencing
Upgrading in this order isn’t just about budget — it’s about not masking a problem with a bigger one. A worn clutch under stock power is a maintenance issue. The same worn clutch under a substantial power increase becomes a much more expensive failure. Handle the fundamentals first.
Performance Parts by Generation
Fitment and available options differ by generation — always shop from your specific generation’s category rather than a generic listing.
Frequently Asked Questions
A cold air intake and cat-back exhaust are the most common and accessible starting points, offering a noticeable sound and airflow improvement without requiring more involved drivetrain work.
If you’re planning any meaningful power increase, yes — factory clutches have a torque ceiling, and a worn or stock clutch under significantly increased power is a common and expensive failure point.
Not strictly required, but pairing airflow upgrades with a tune helps the engine’s computer fully adapt to the changes, and is generally more cost-effective to do together rather than in separate stages.